|
|
Post by FullTimeHobbiest on Jun 17, 2014 2:44:07 GMT -8
Hey everyone, just a quick build for my Mom while she's in town. I have until just after the 4th of July to get if finished and in her hands before she heads back to the Midwest. A little back story, I was browsing eBay as I often do and spotted a mint and sealed AMT Corvette Evolution 5 pack for an unreasonably low price. I'm not too much of a Corvette fan, but for the price I couldn't say no. While I was visiting, my mother and I got into a discussion about the Corvette kits and she tells me her older sister had a '53 when she was younger. I asked her if she would want a little version for her shelf at home and she lit up. So... Here we go! The aforementioned kits. 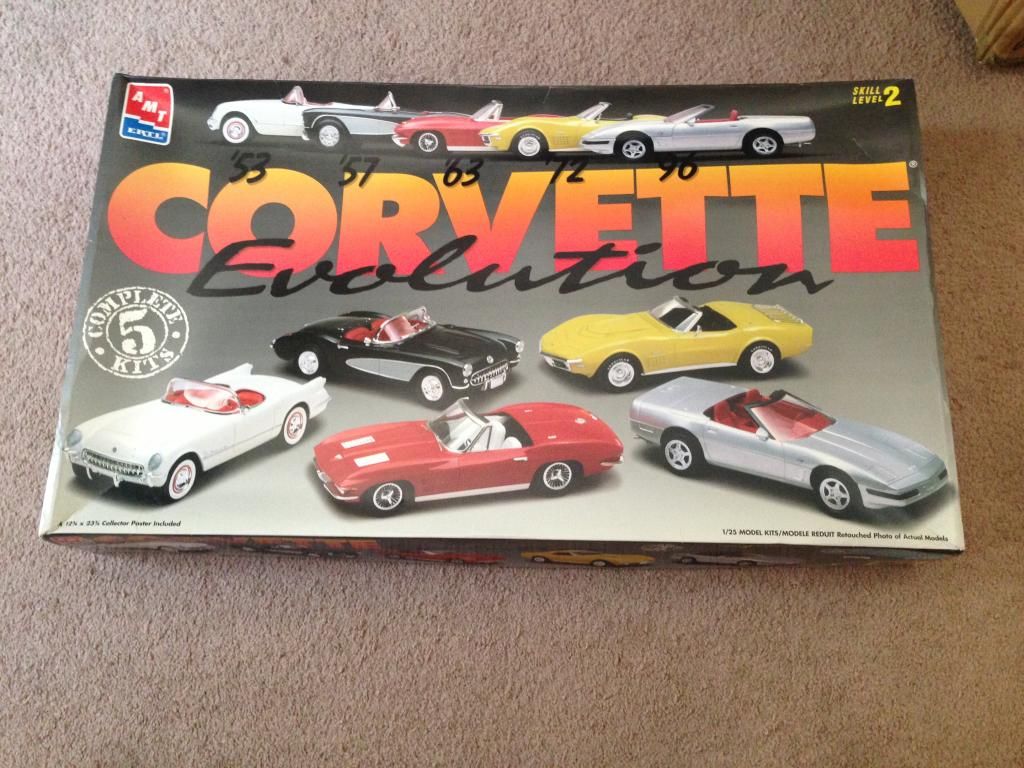 I decided to stray outside of the factory paint realm and go with a metallic pink exterior with a black tri-tone interior. Paint color 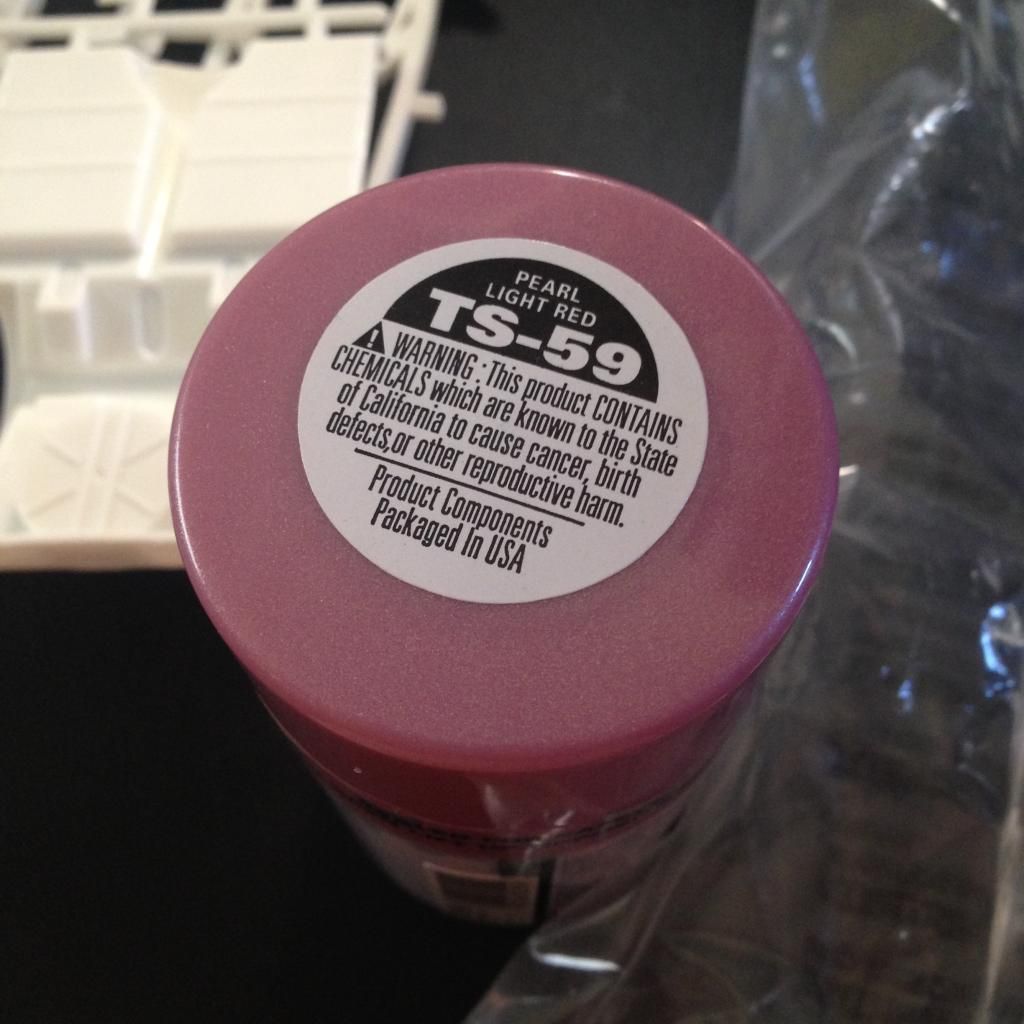 The first day was basically spend clipping, cutting, trimming, and sanding a large portion of the parts including the body. This kit has an extreme amount of injection mold marks on visible panels. And the seams are the body were terrible. This is where day #1 ended. 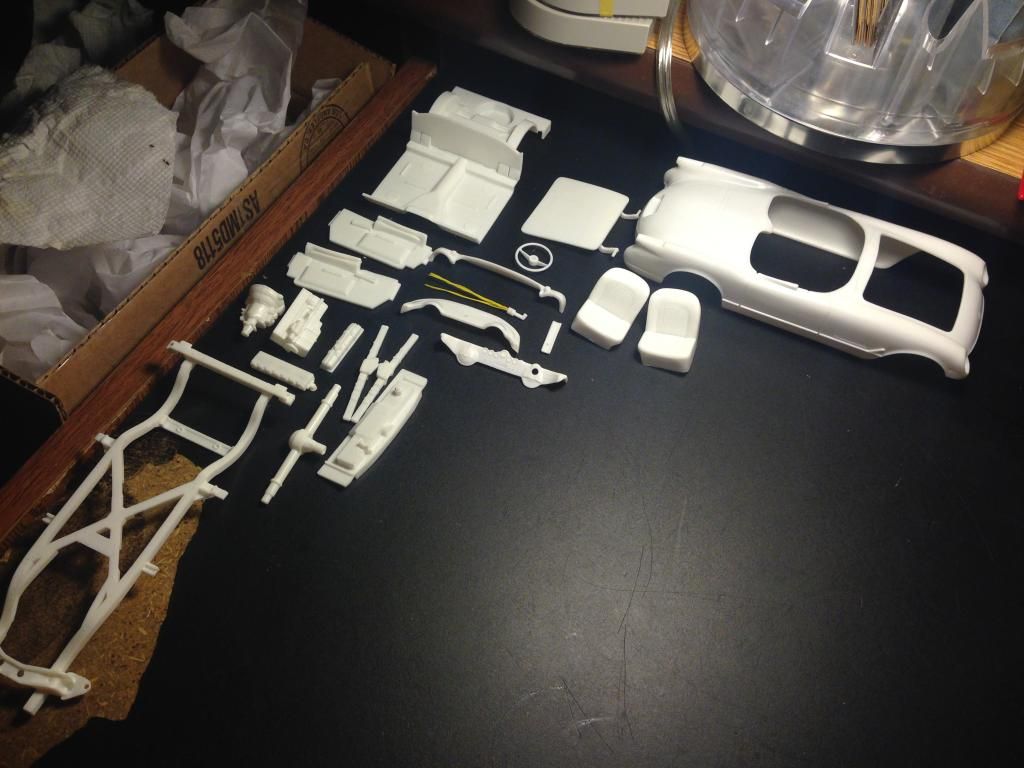 Day #2 was spent getting all of the engine components together, primed, painted and assembled. Started by drilling all of the spark plug holes on the head. 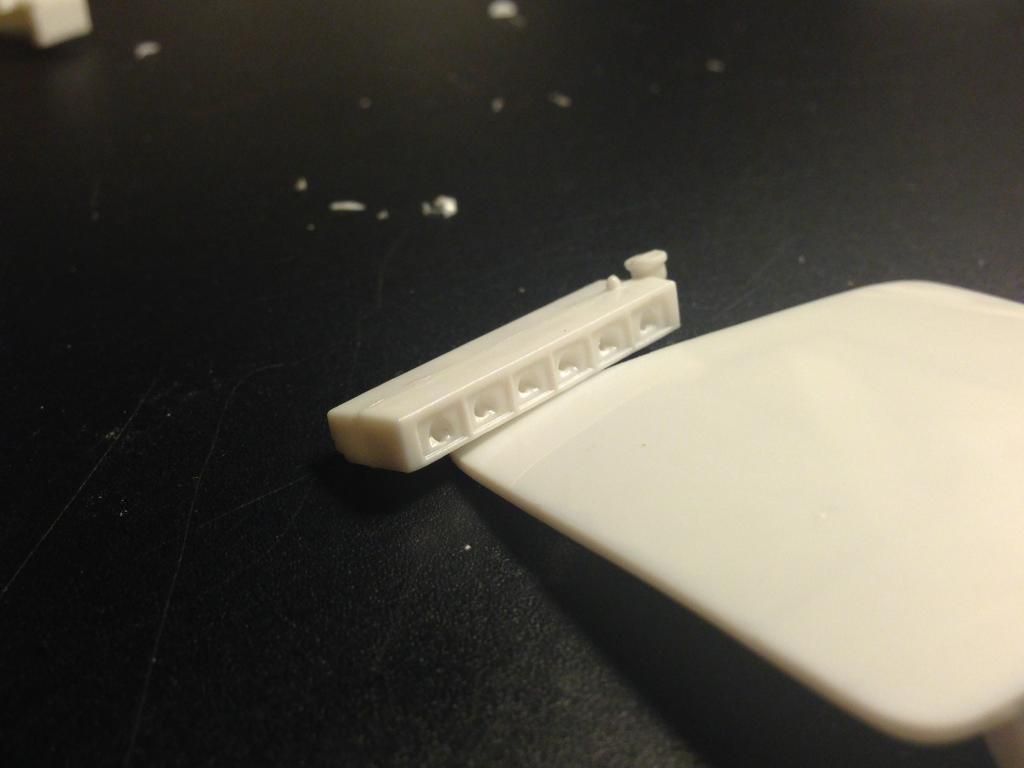 Then I took the distributor cap, cut off all of the terminals, drilled out the center and wired it up as close 1:1 I could get it. 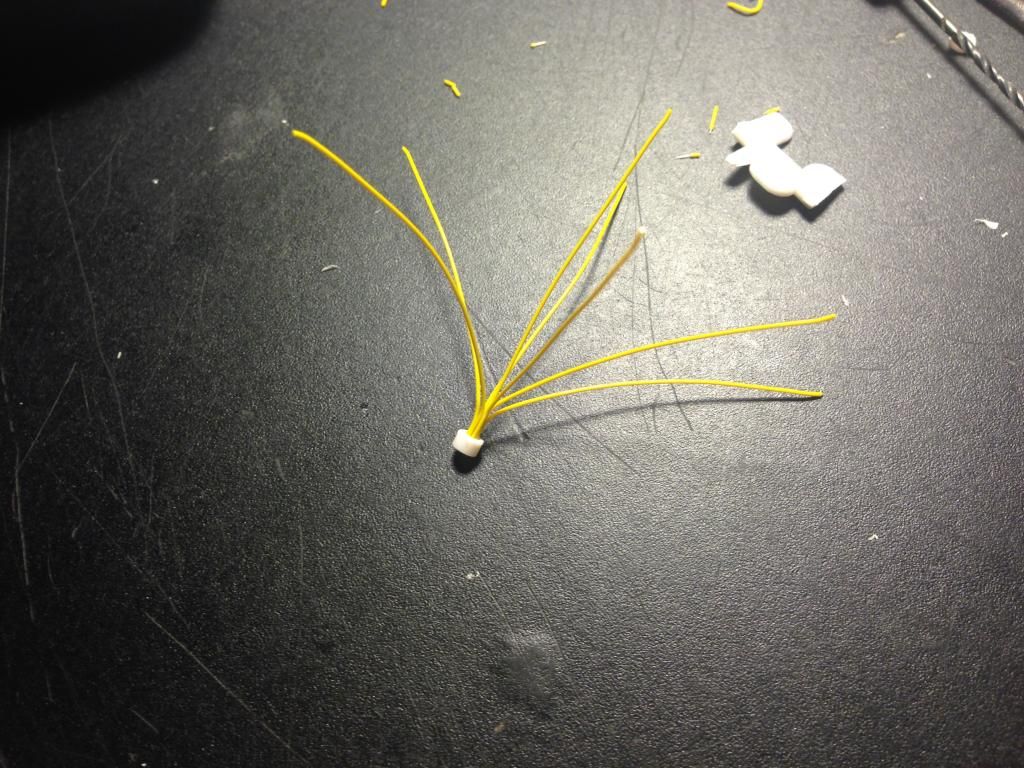 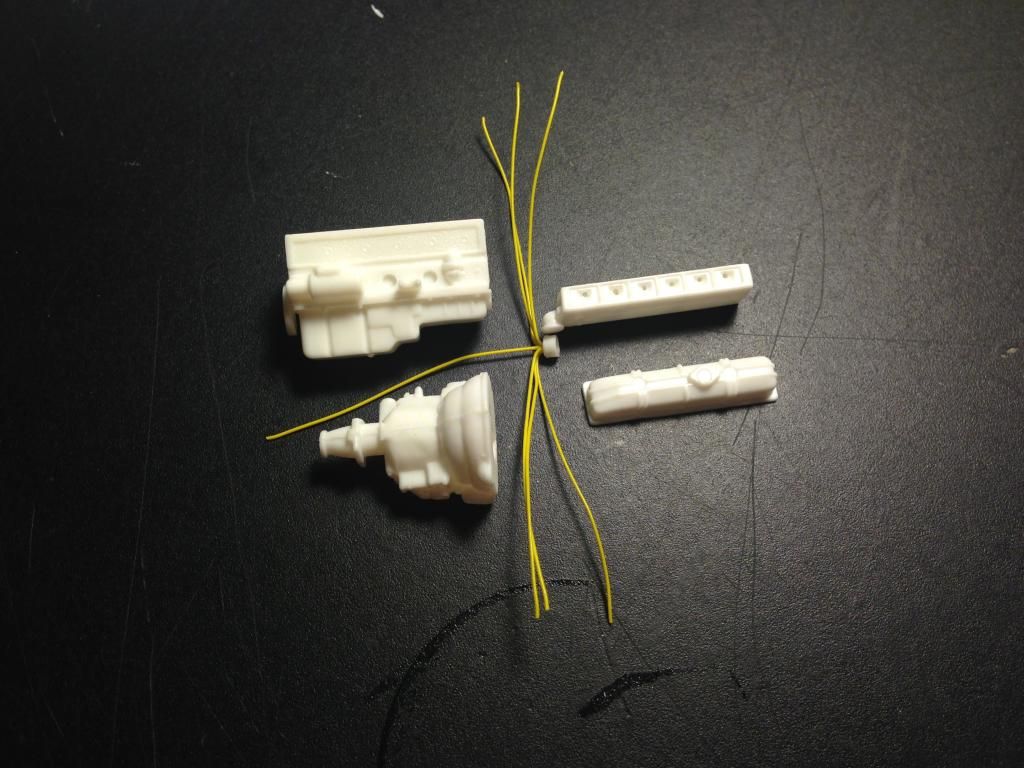 And then the paint began! 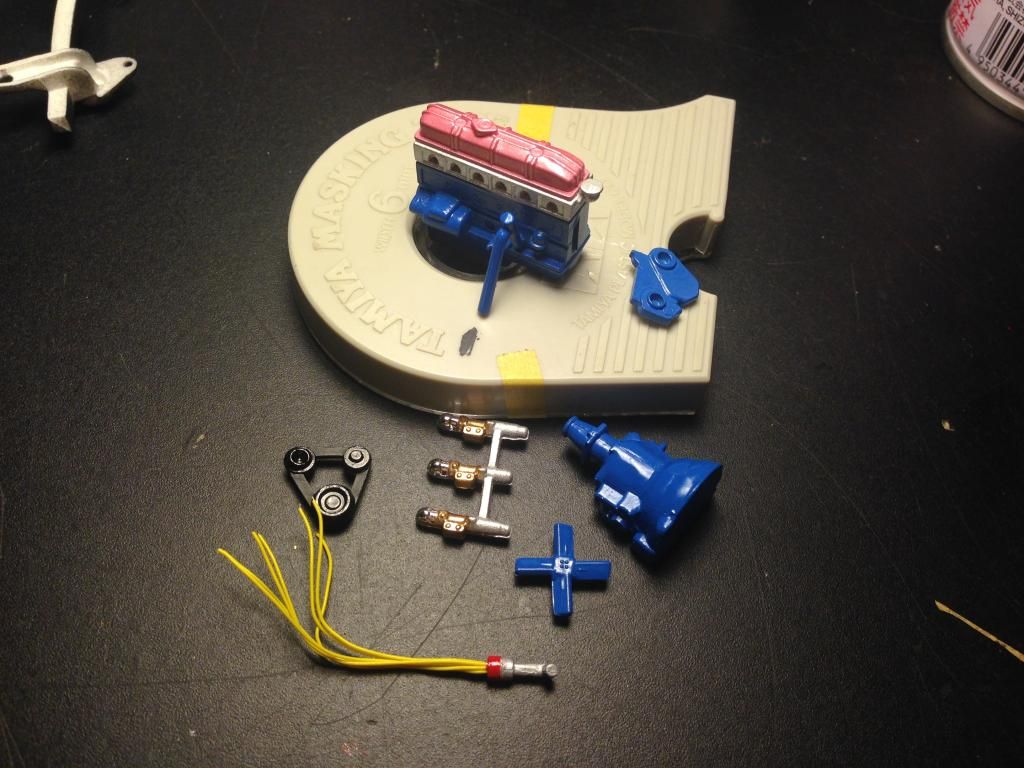 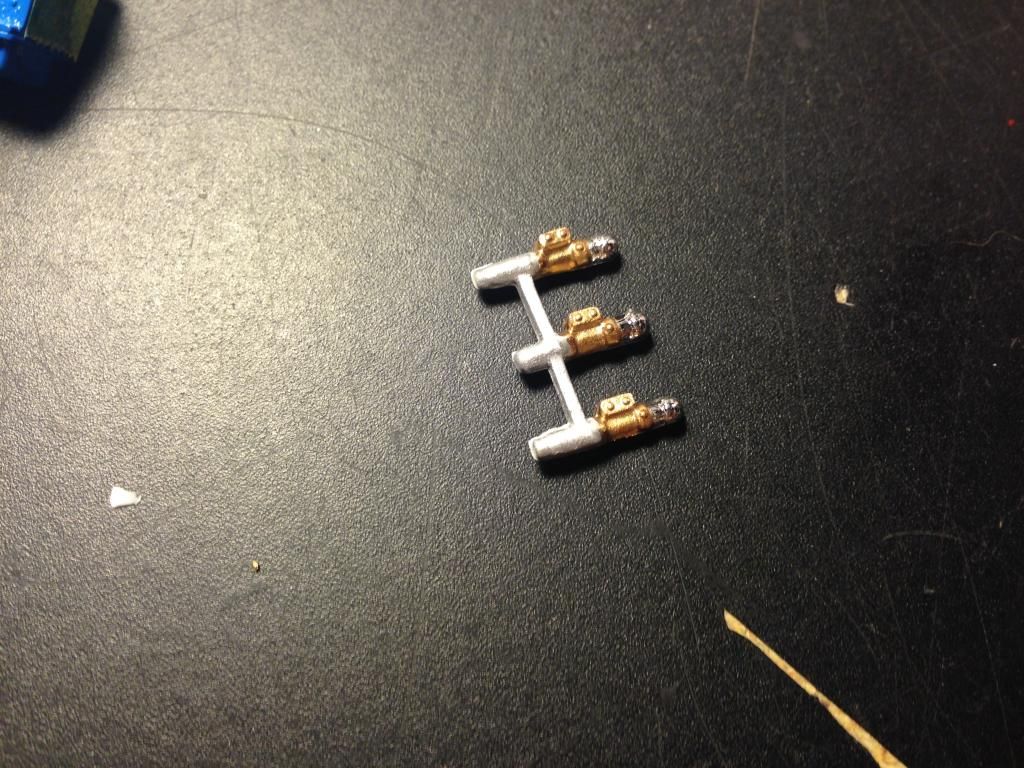 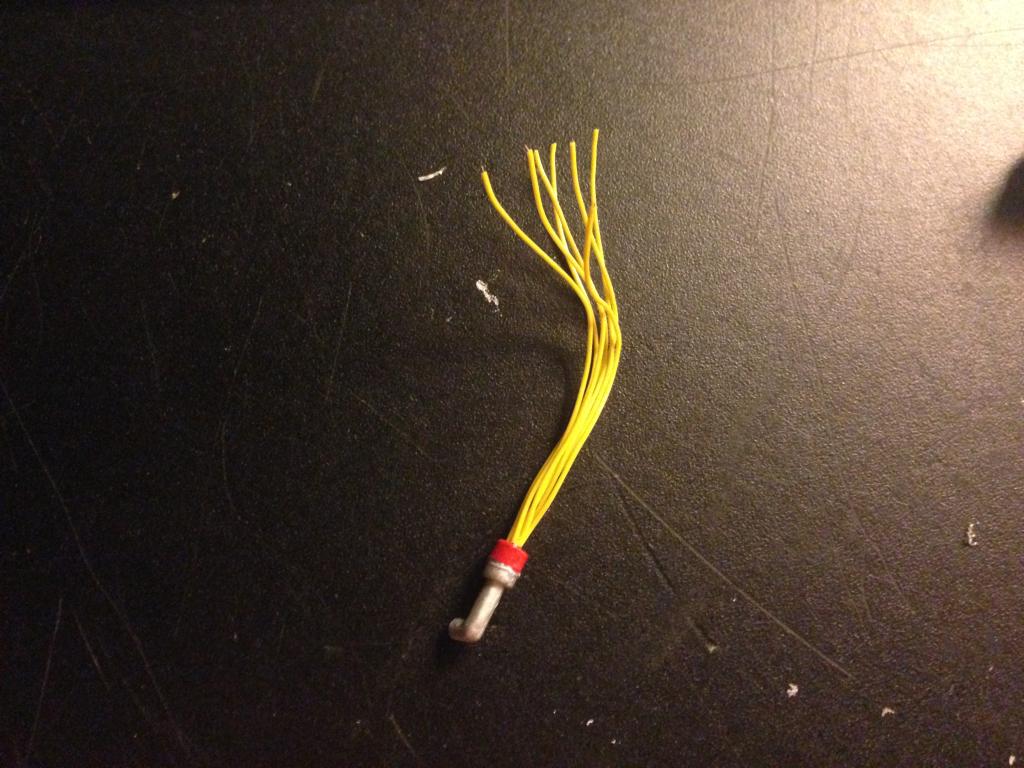 And then assembly and detail! I used this stock photo as reference for ignition wiring. 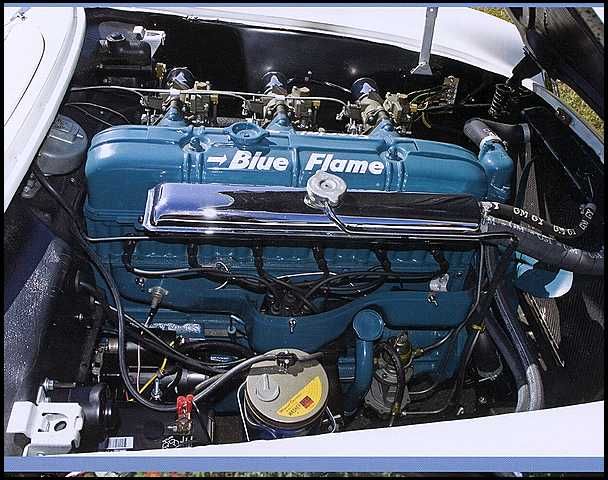 And here it is. 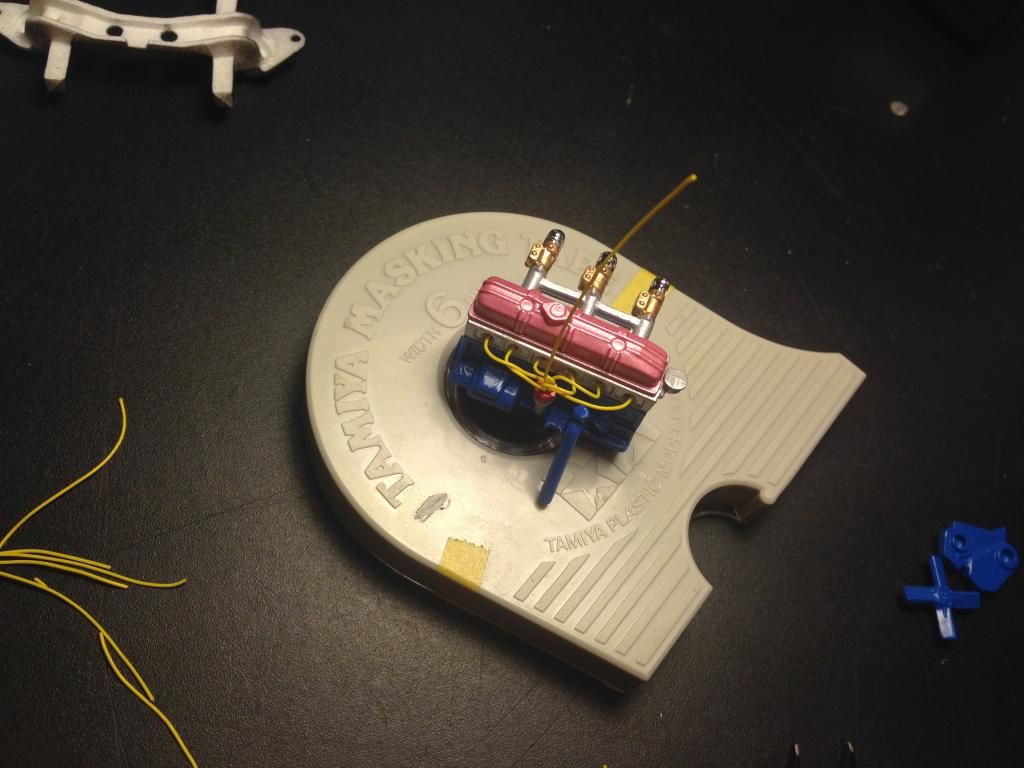 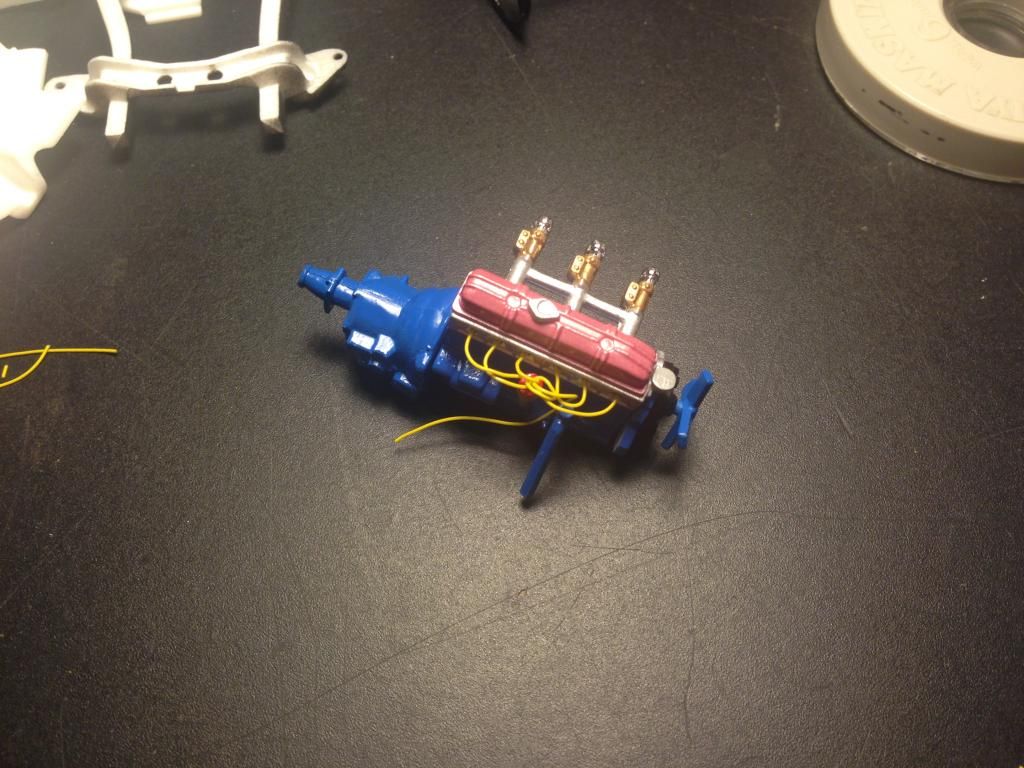 All I have for now, thanks for looking! |
|
|
|
Post by 85gt4bbl302 on Jun 17, 2014 4:52:26 GMT -8
very nice work Eric!!
in your reference pic theres the "Blue Flame" that I was telling you of perhaps that was the nickname for the gm straight six of the Era?? I want to say it go a real reputation at the bonneville flats, not for sure tho
|
|
|
|
Post by cantthink on Jun 17, 2014 17:41:21 GMT -8
Great looking engine, and I think that metallic light red will look pretty good. Looking forward to seeing more.
Roy
|
|
|
|
Post by FullTimeHobbiest on Jun 22, 2014 11:34:07 GMT -8
Alright guys, have had this stuff done for a couple of nights now. But here we go! Did most of my spraying in one afternoon. 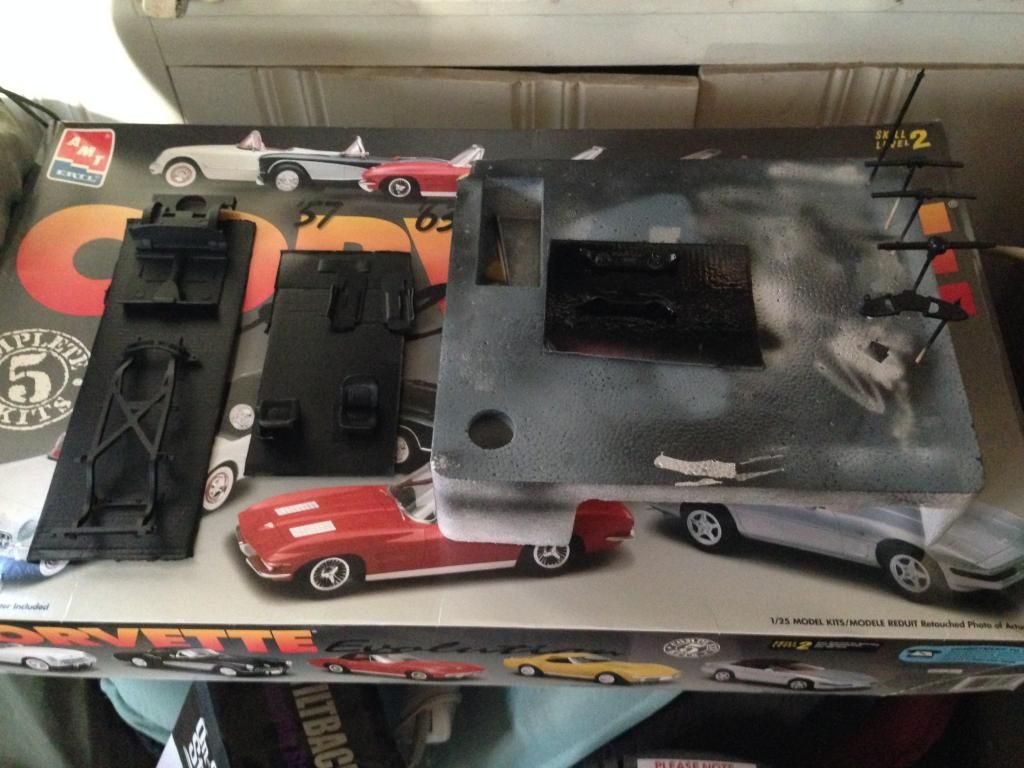 Made some front springs because the kid ones are crap. 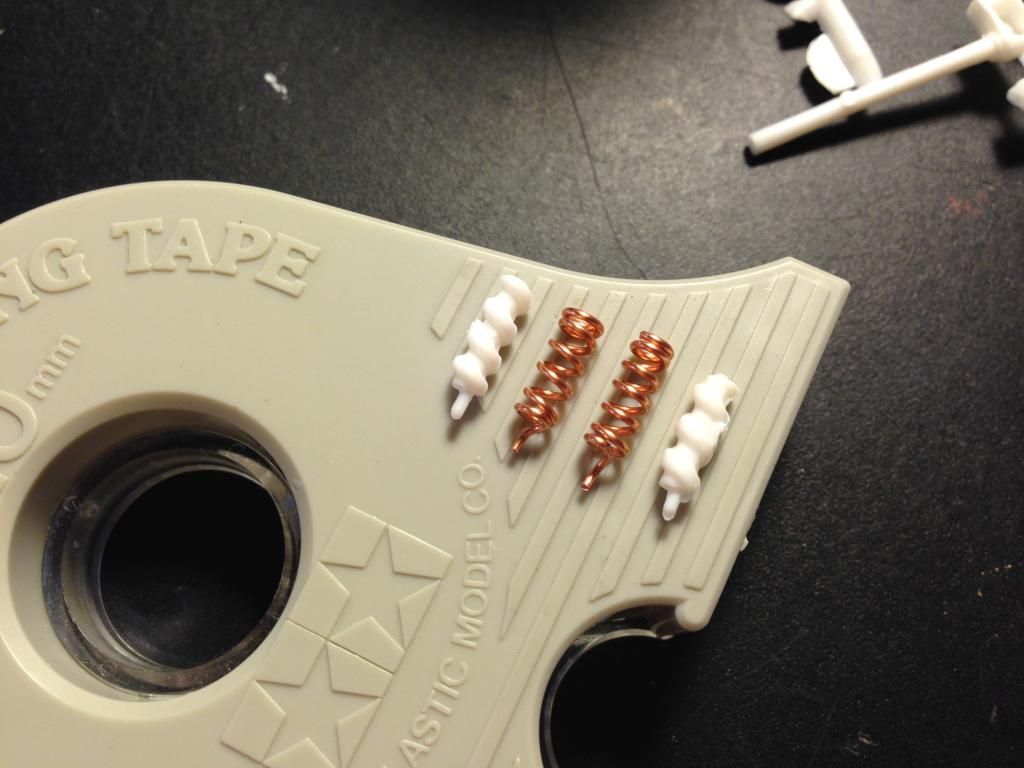 Finally painted and mounted the coil. 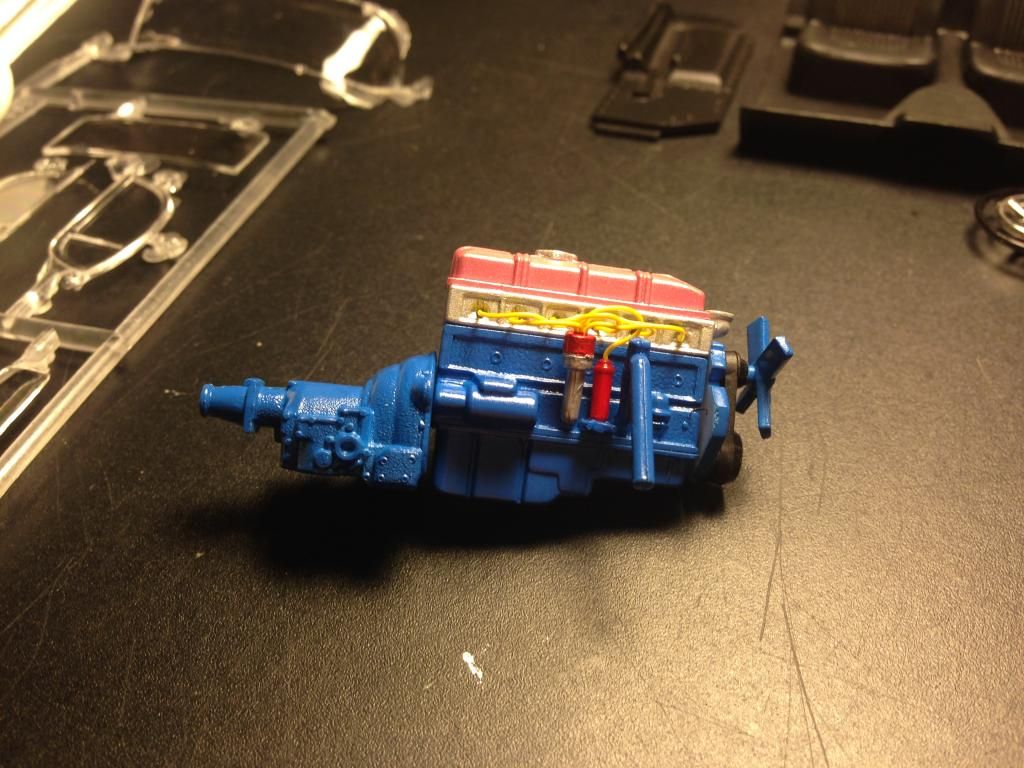 Better view of the wires. 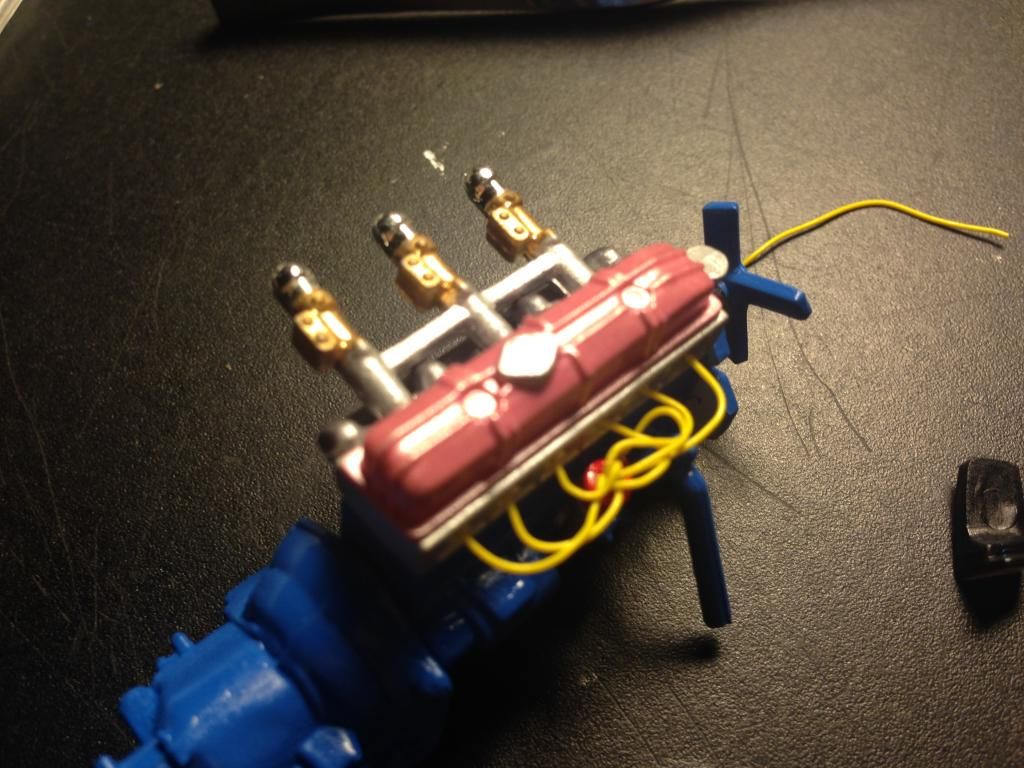 A little interior assembly and paint. 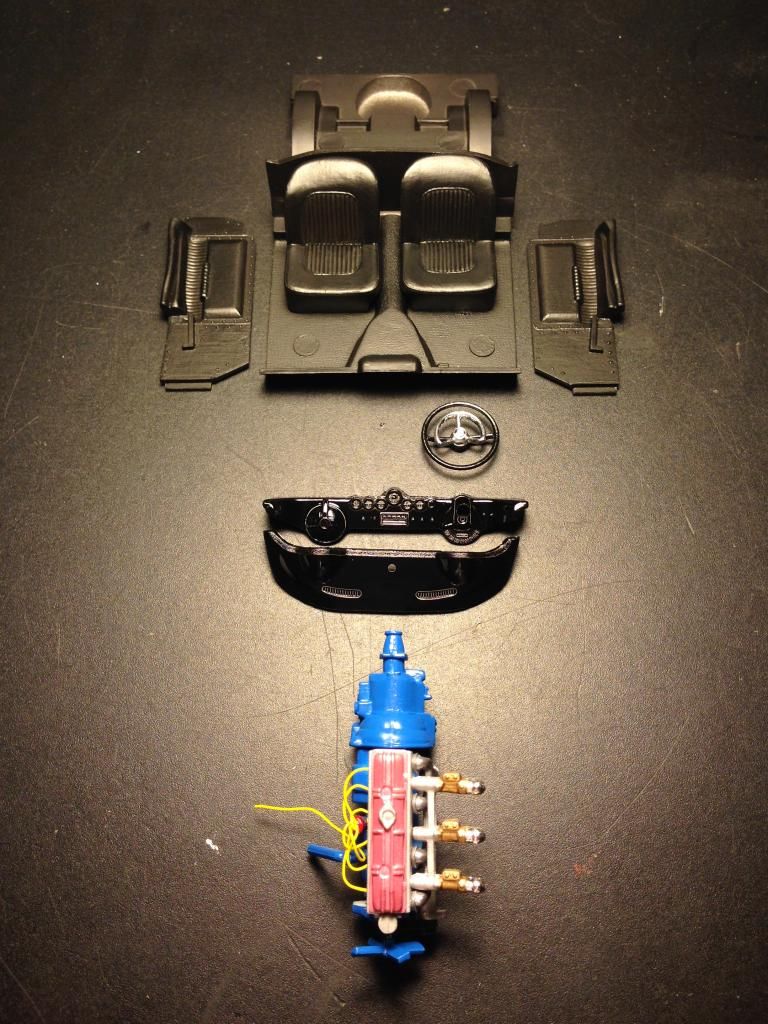 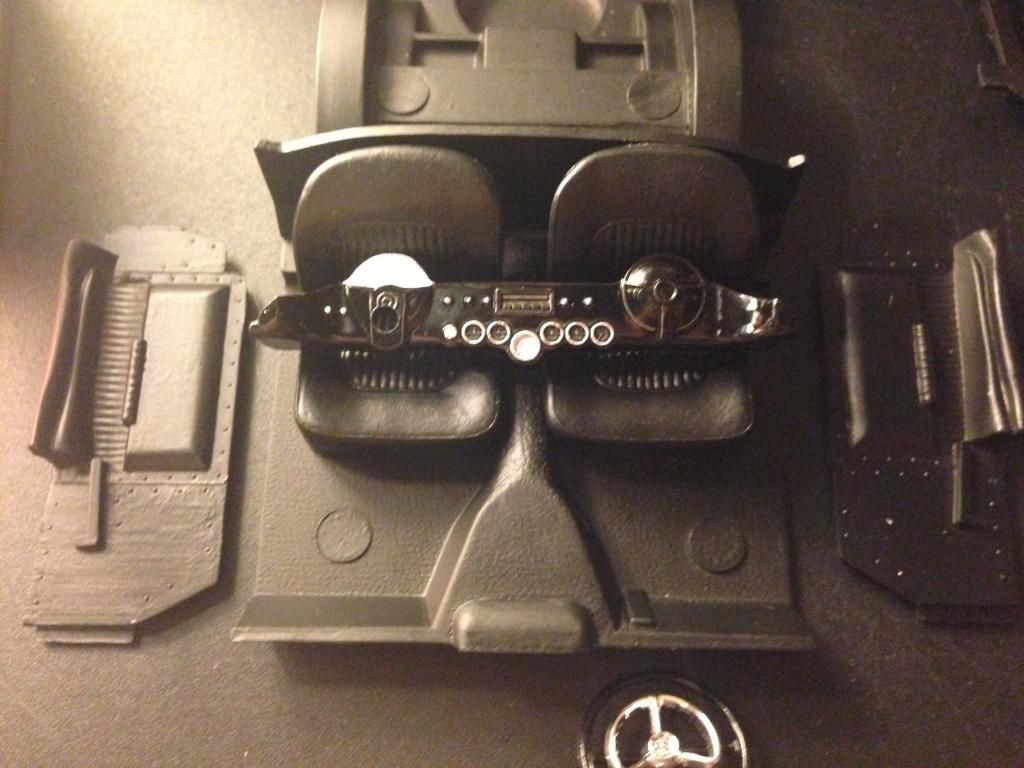 The total sum of my one afternoon of painting. 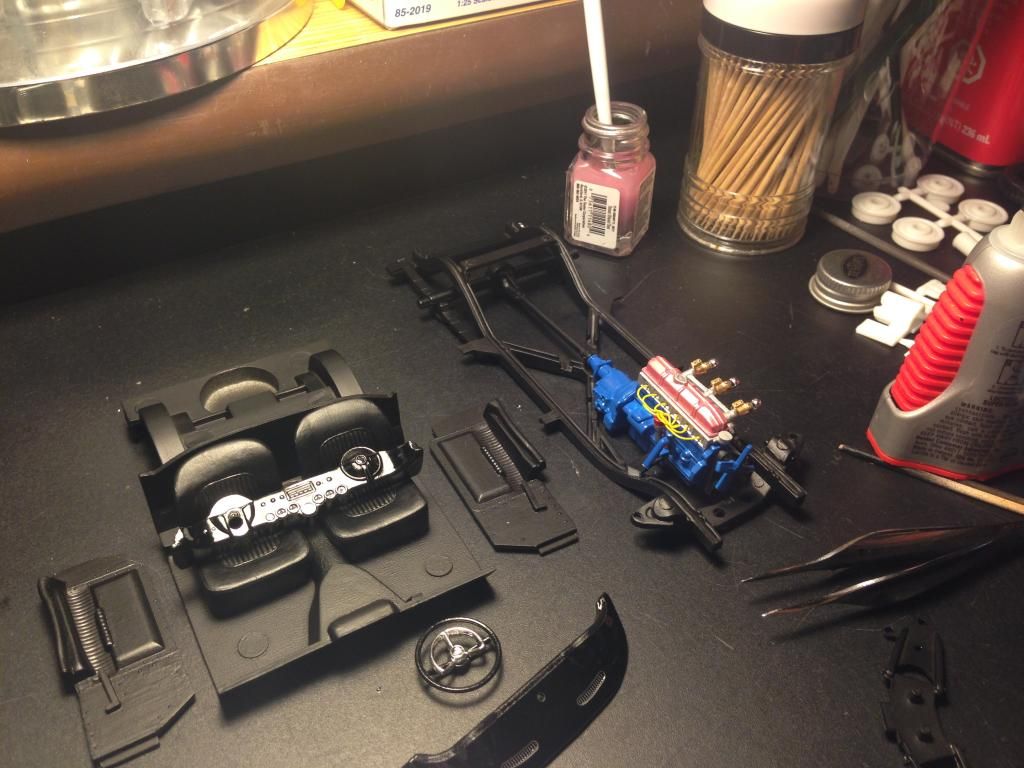 Stay tuned guys! |
|
|
|
Post by 85gt4bbl302 on Jun 24, 2014 3:47:07 GMT -8
i'm glued haha lol
|
|