Post by FullTimeHobbiest on May 31, 2014 19:39:14 GMT -8
Most kits with medium or low detail typically do not have a set of springs. Here is a quick and easy way to make some for almost any kits. I came up with this set-up for a Revell '92 Mustang GT Convertible kit.
This you will need:
-Semi-solid Wire of Scale (I used Radioshack Armature Winding Wire)
-Wire Cutters
-Small Drill Bit
-Spare Tree
-Lighter (not pictured)
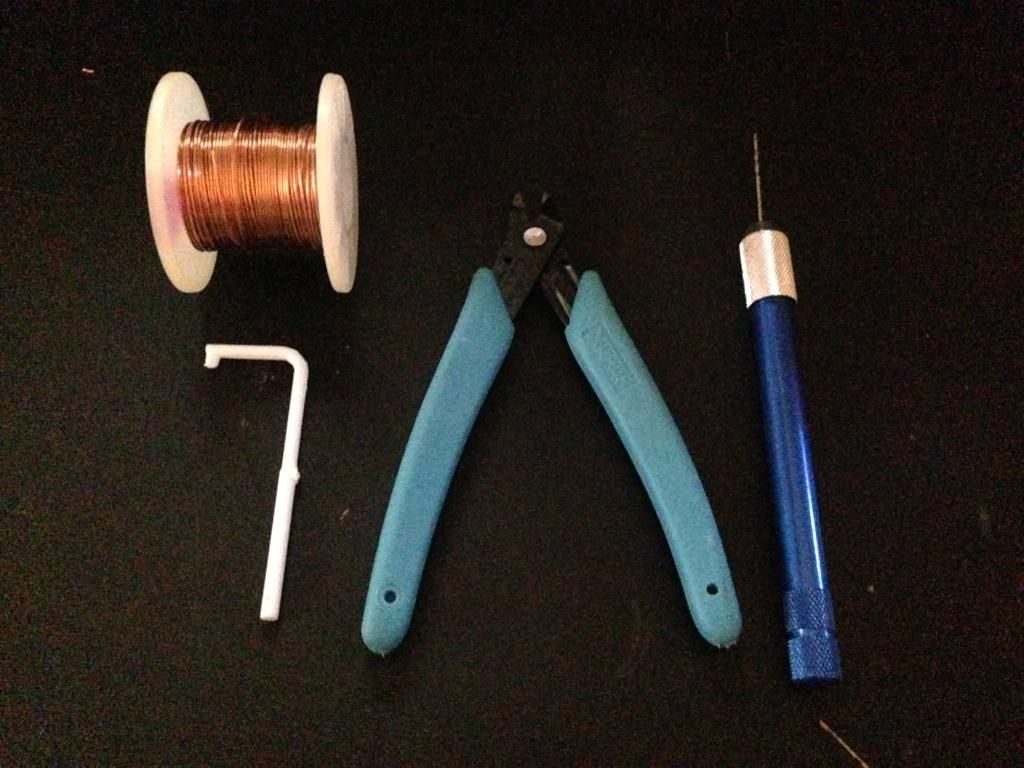
Making your tool
Step 1:
Take your spare piece of tree(sprue) and apply a little bit of heat with a lighter, while the plastic is still warm bend a 90 degree bend to act as a good leverage point for twisting the wire into place later. (My piece of tree already had a 90 degree bend)
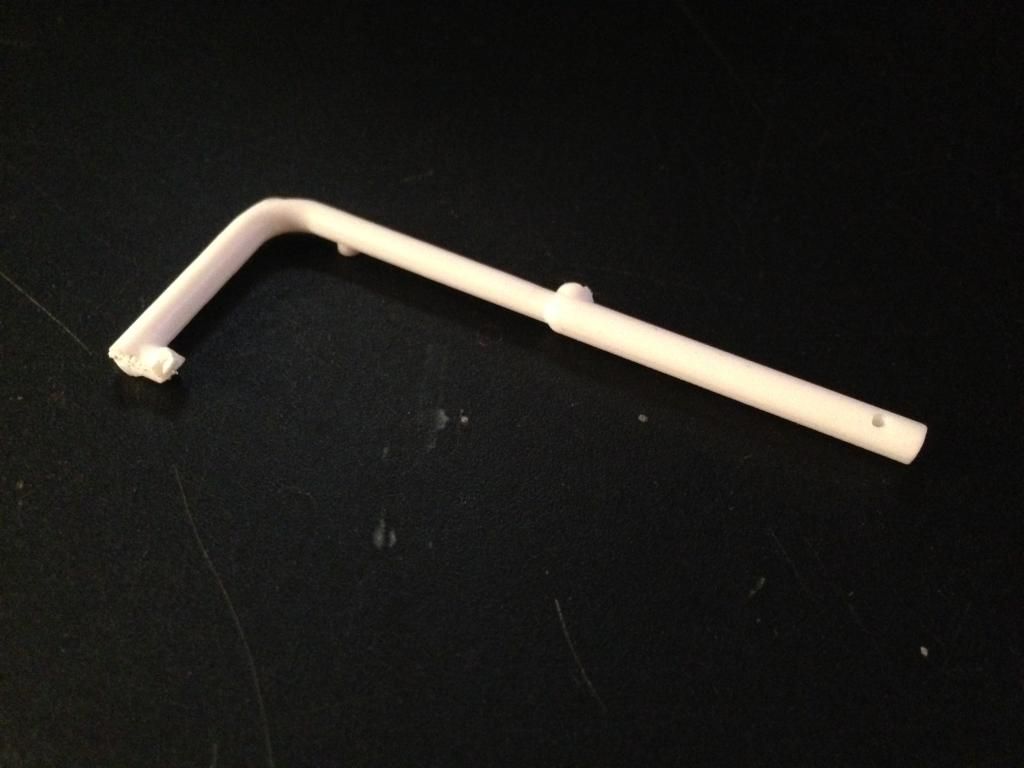
Step 2:
Take your now bent piece of tree and drill a small hole using your drill bit. The hole should be centered on the tree about 6-8mm from the unbent end of your tree. Congratulations! The tool making portion of this, "How To" is finished!
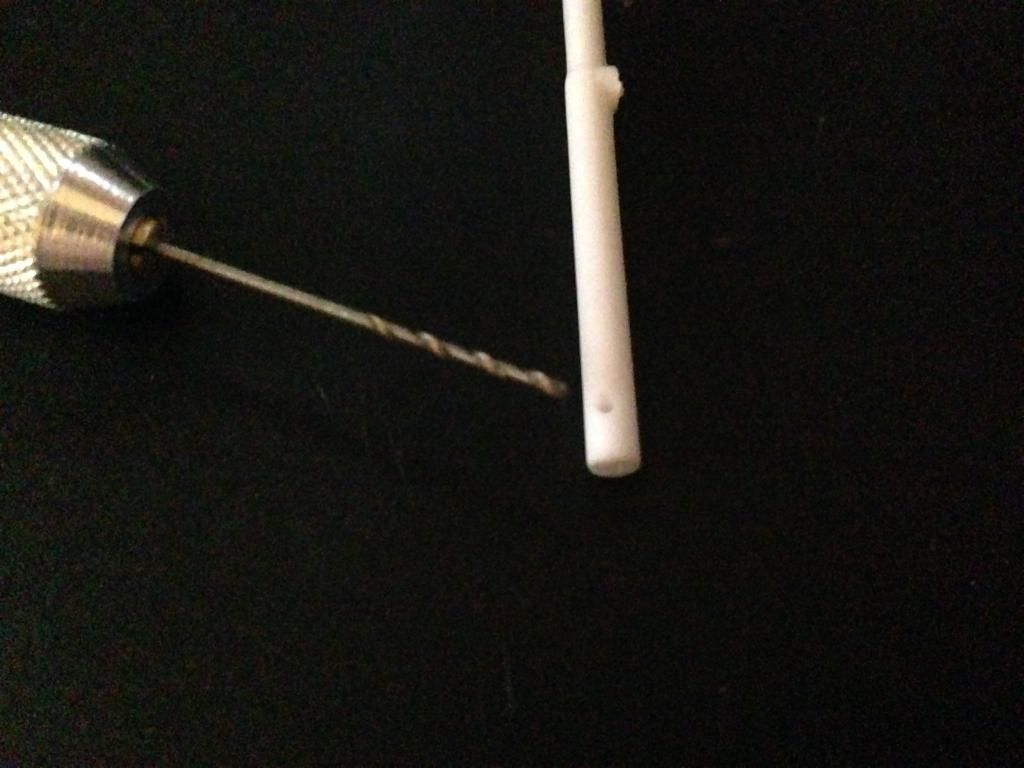
Wrapping and Creating the springs
Step 1:
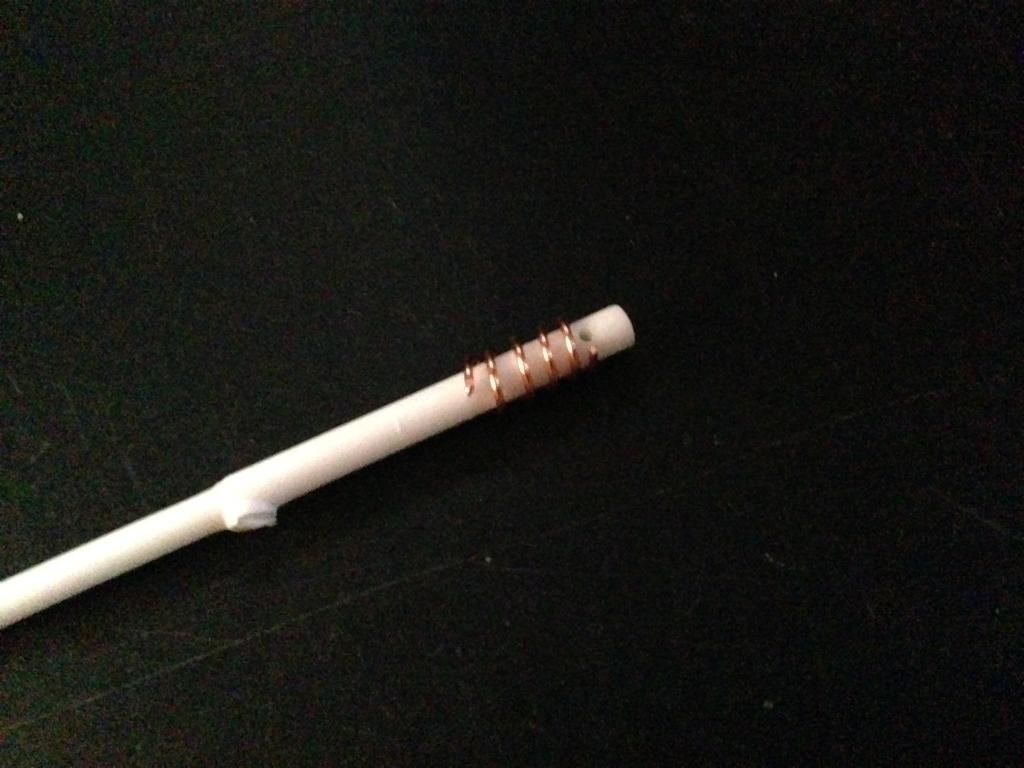
A.) Take your newly formed tool, and your choice of wire and feed a piece of wire through the eyelet you drill in the tool and curl it around to secure it in place.
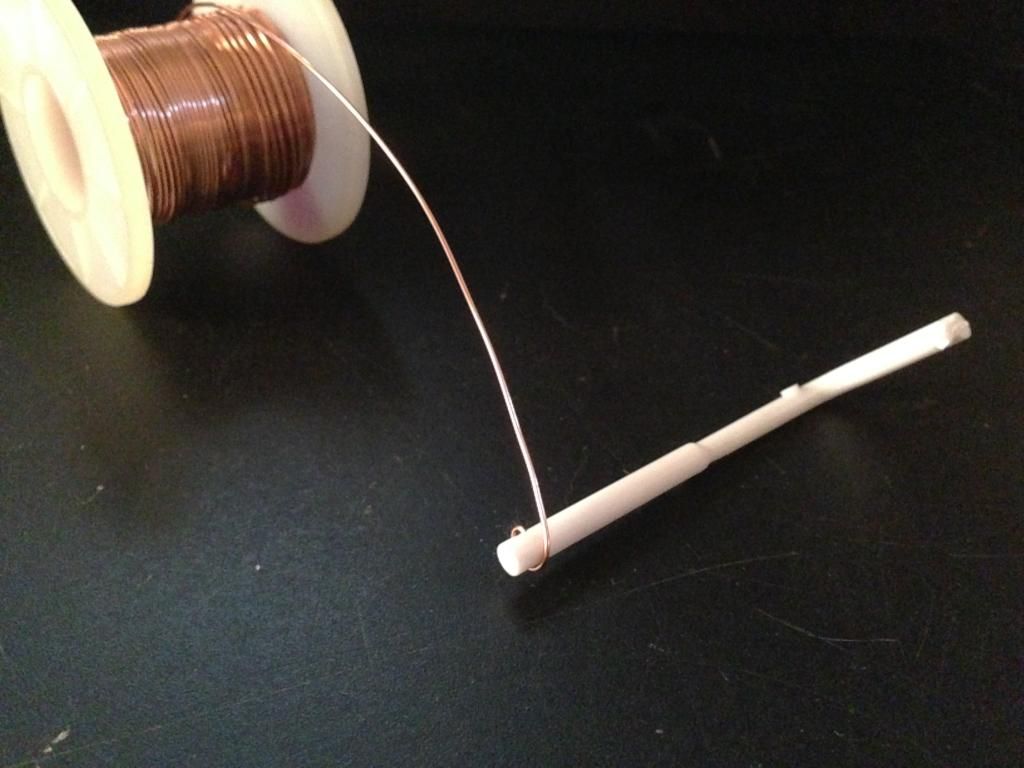
B.) After your wire is secure, begin coiling the wire down the tool tight for your desired number of coils (all kits will be different). Try to maintain even spacing, but spacing can be fixed later.
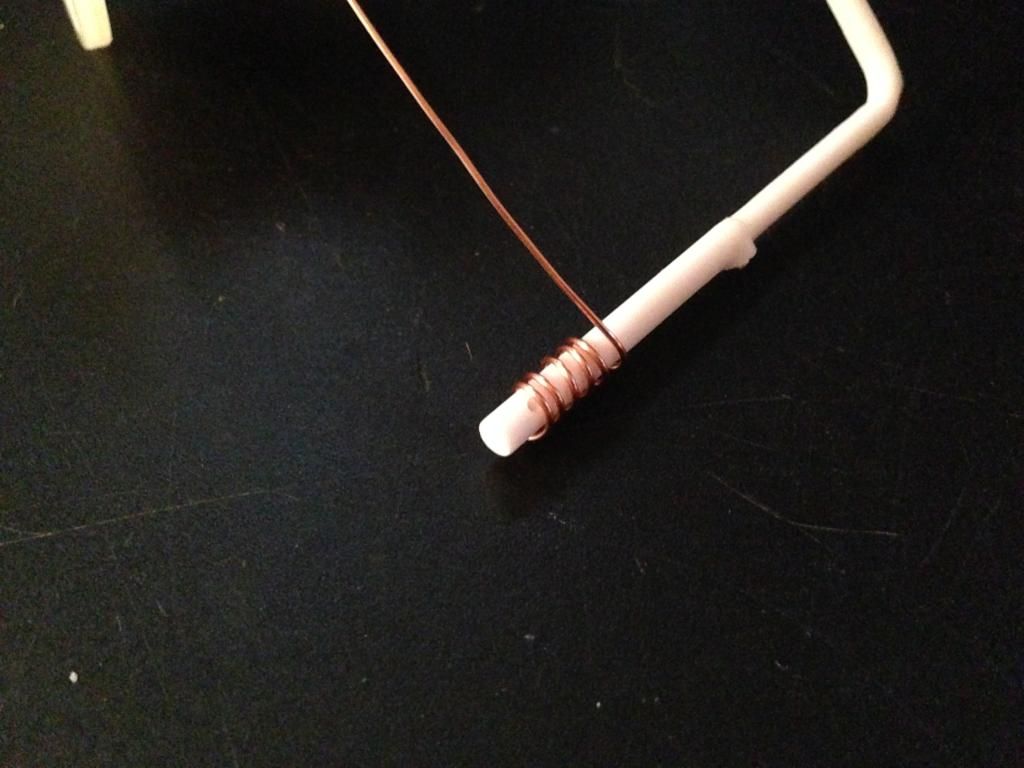
Step 2:
A.) Cut away your excess wire after your desired number of coils has been achieved.
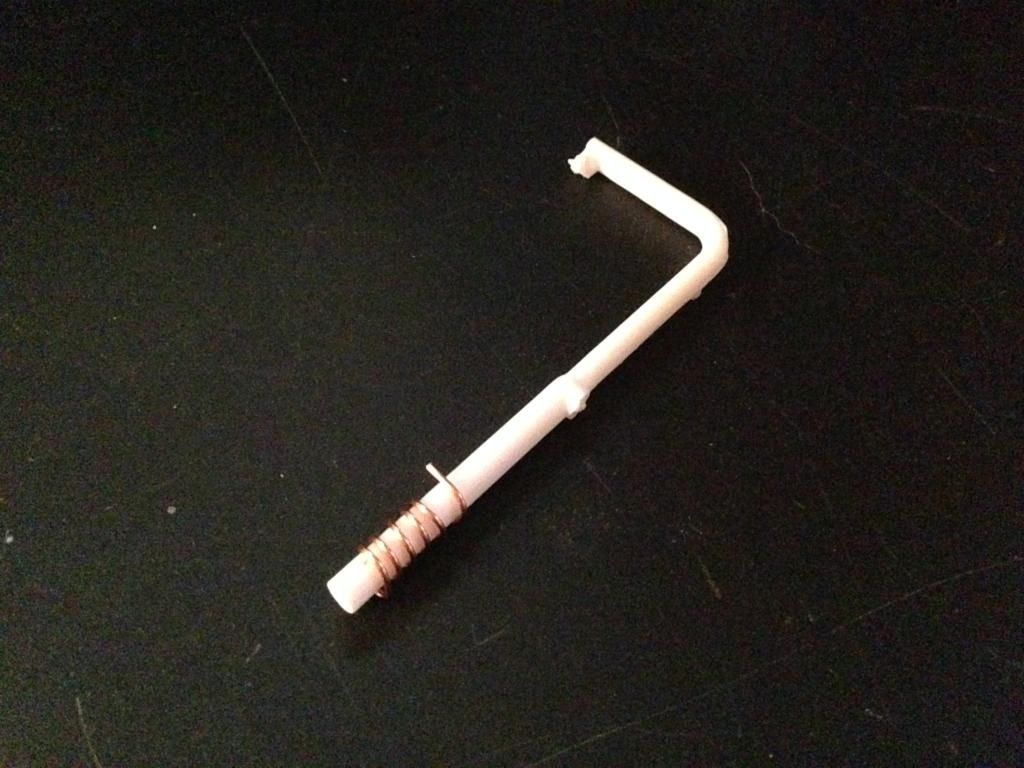
B.)Cut your newly formed spring right at the eyelet opening on the bent side.
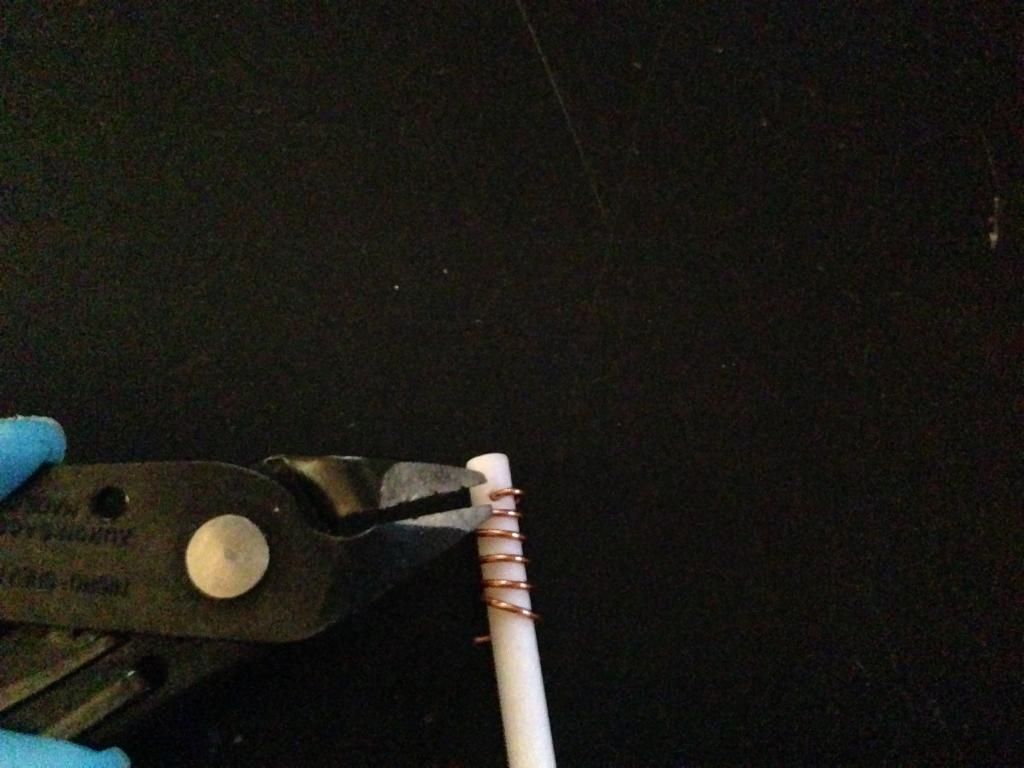
C.) At equal spacing, on the opposite side, cut away slightly more excess to create a more realistic spring look.
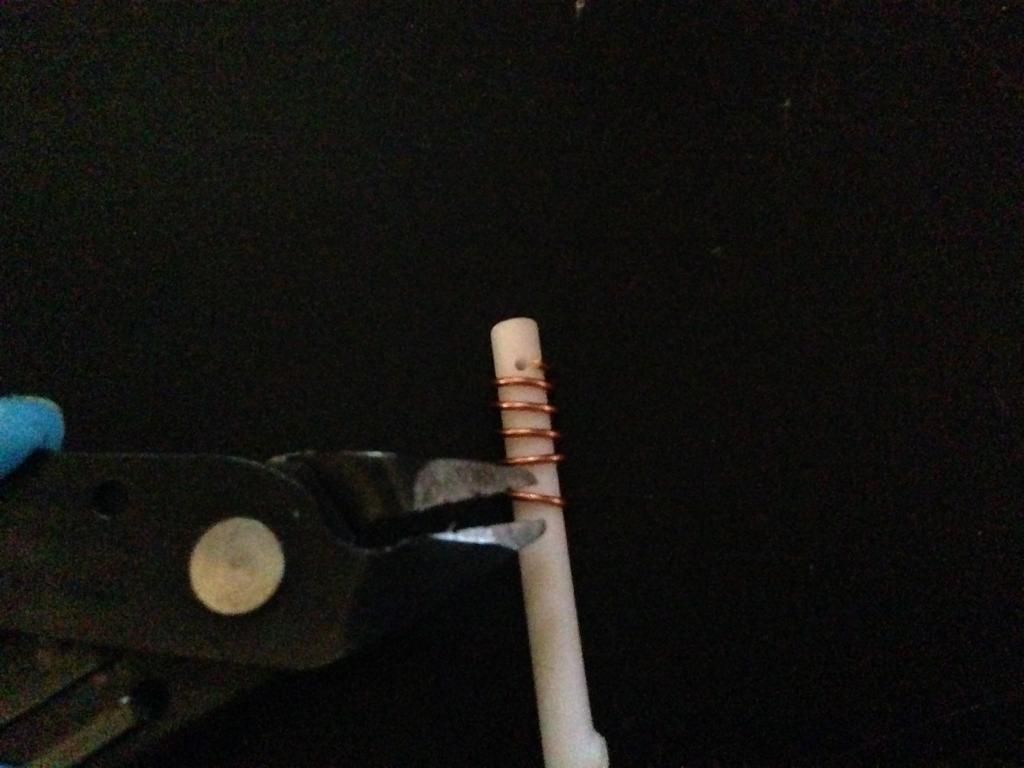
This is also a great time to adjust your spacing!
Step 3:
Remove your spring from the tool and pinch each end of the coil against its nearest partner to create a more realistic spring.
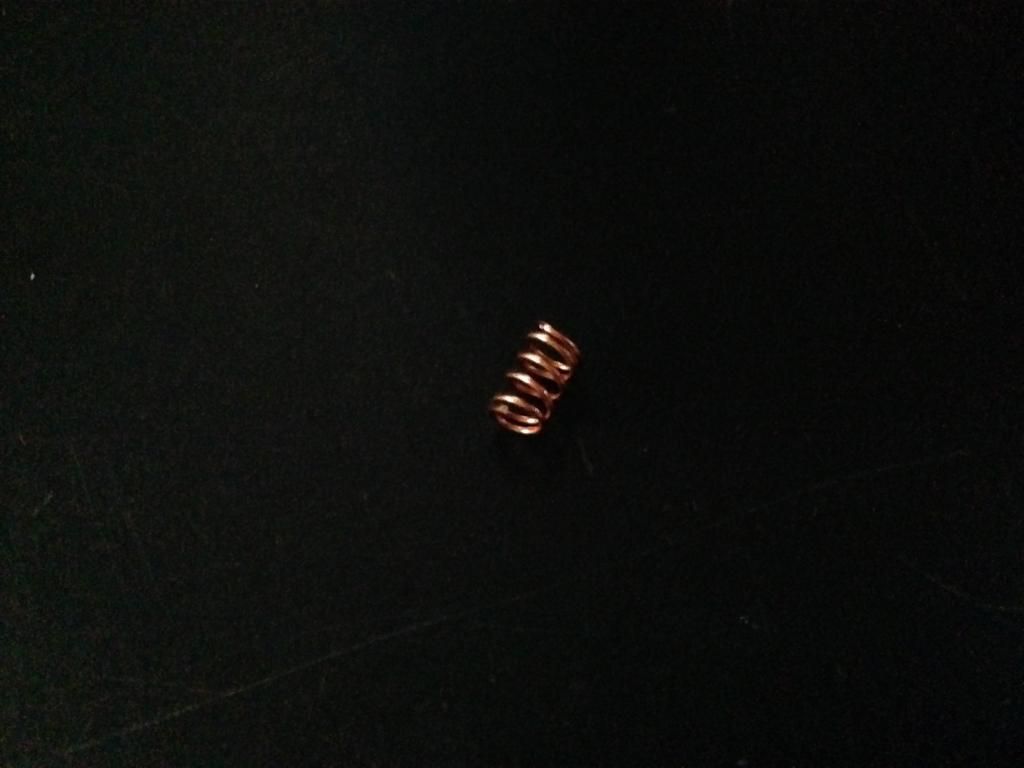
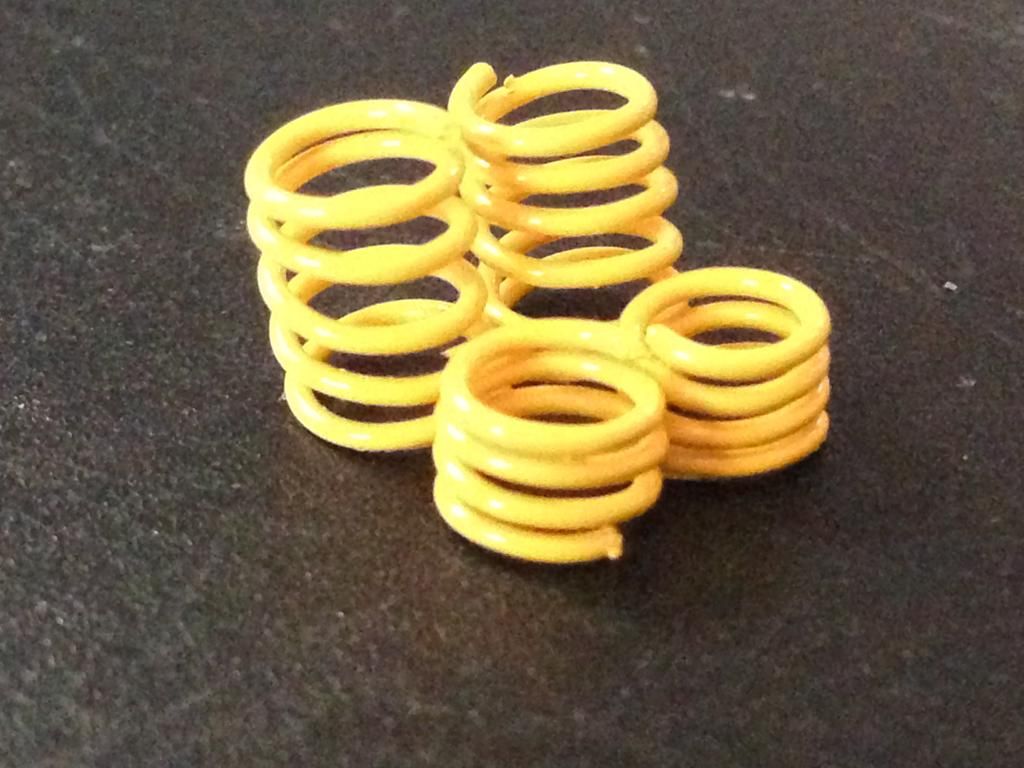
That's it guys! You're finished. After you get them mocked up on your kit, you can prime and paint them just like you would any other part. Here is a shot if my finished springs.
Thanks for looking!
This you will need:
-Semi-solid Wire of Scale (I used Radioshack Armature Winding Wire)
-Wire Cutters
-Small Drill Bit
-Spare Tree
-Lighter (not pictured)

Making your tool
Step 1:
Take your spare piece of tree(sprue) and apply a little bit of heat with a lighter, while the plastic is still warm bend a 90 degree bend to act as a good leverage point for twisting the wire into place later. (My piece of tree already had a 90 degree bend)

Step 2:
Take your now bent piece of tree and drill a small hole using your drill bit. The hole should be centered on the tree about 6-8mm from the unbent end of your tree. Congratulations! The tool making portion of this, "How To" is finished!

Wrapping and Creating the springs
Step 1:
A.) Take your newly formed tool, and your choice of wire and feed a piece of wire through the eyelet you drill in the tool and curl it around to secure it in place.

B.) After your wire is secure, begin coiling the wire down the tool tight for your desired number of coils (all kits will be different). Try to maintain even spacing, but spacing can be fixed later.

Step 2:
A.) Cut away your excess wire after your desired number of coils has been achieved.

B.)Cut your newly formed spring right at the eyelet opening on the bent side.

C.) At equal spacing, on the opposite side, cut away slightly more excess to create a more realistic spring look.

This is also a great time to adjust your spacing!

Step 3:
Remove your spring from the tool and pinch each end of the coil against its nearest partner to create a more realistic spring.

That's it guys! You're finished. After you get them mocked up on your kit, you can prime and paint them just like you would any other part. Here is a shot if my finished springs.

Thanks for looking!


