|
|
Post by FullTimeHobbiest on Nov 8, 2014 10:35:25 GMT -8
I'm droolin' over here Ron. Haha
|
|
|
|
Post by FullTimeHobbiest on Oct 27, 2014 9:02:02 GMT -8
Welcome to our little community Erik! Look forward to seeing your builds.
|
|
|
|
Post by FullTimeHobbiest on Sept 7, 2014 7:49:14 GMT -8
Wow man! She looks good. Very clean.
|
|
|
|
Post by FullTimeHobbiest on Aug 27, 2014 9:58:16 GMT -8
Look forward to seeing this project come along.
|
|
|
|
Post by FullTimeHobbiest on Aug 14, 2014 15:36:09 GMT -8
I work reviewing products for various companies. Self employed.
|
|
|
|
Post by FullTimeHobbiest on Aug 14, 2014 15:34:44 GMT -8
Wow, intense work area you got there Ron!
|
|
|
|
Post by FullTimeHobbiest on Aug 12, 2014 9:08:20 GMT -8
Another quick update here! Got some painting done on the chassis bits. 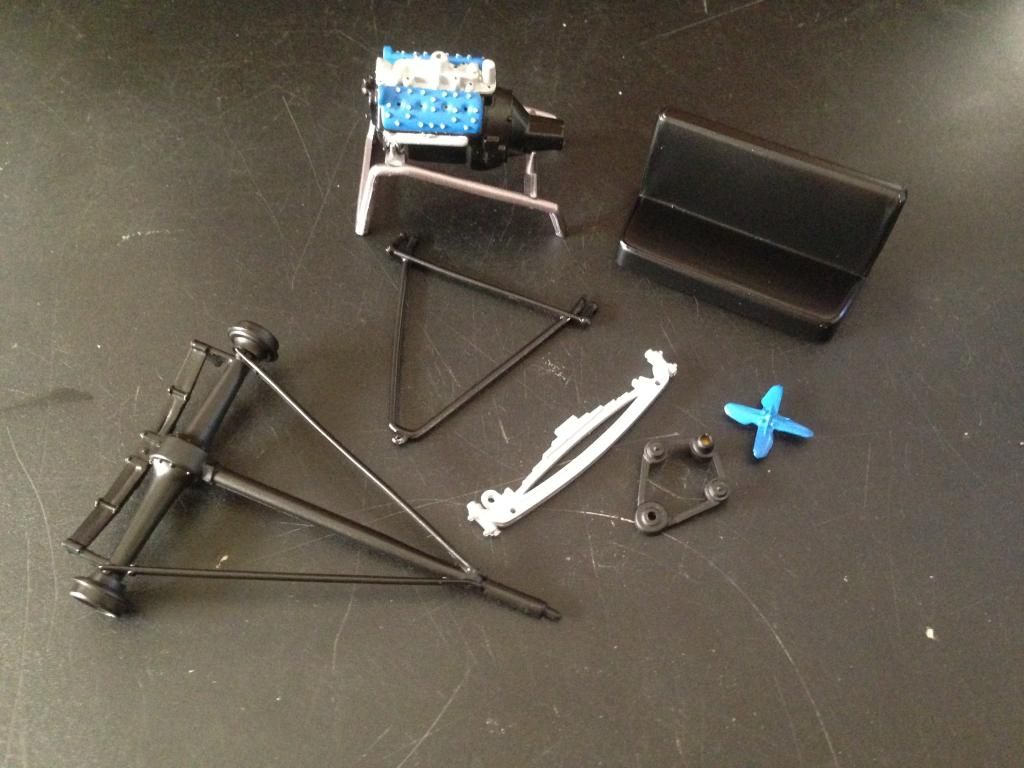 A little teaser of the frame painted the body primed. The chassis is Tamiya Light Gunmetal with Mr.Hobby Matte Clear. 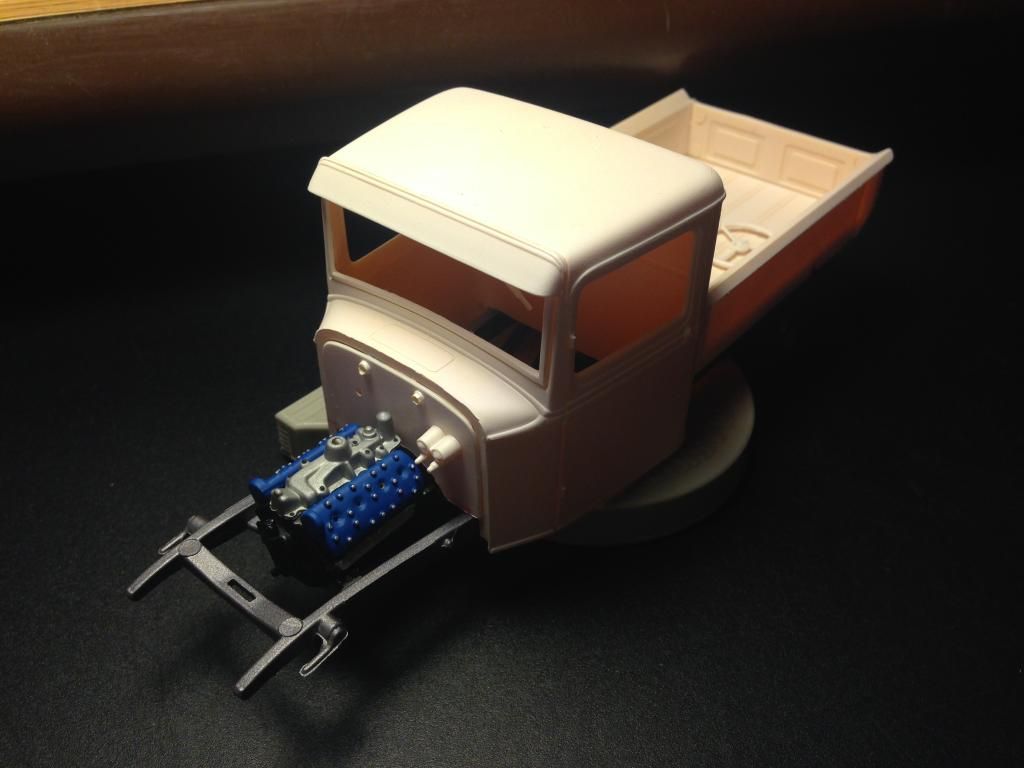 |
|
|
|
Post by FullTimeHobbiest on Aug 11, 2014 8:20:02 GMT -8
Alrighty! Been a while since I've updated this post but I have been making progress here and there. After getting the rear of the cab lined up, cut and laid onto the frame, I needed to fit the firewall and cut a similar amount out of the front to achieve an even drop. I also trimmed the factory bench seat so it will still sit in a factory-ish position in the cab after the body drop. 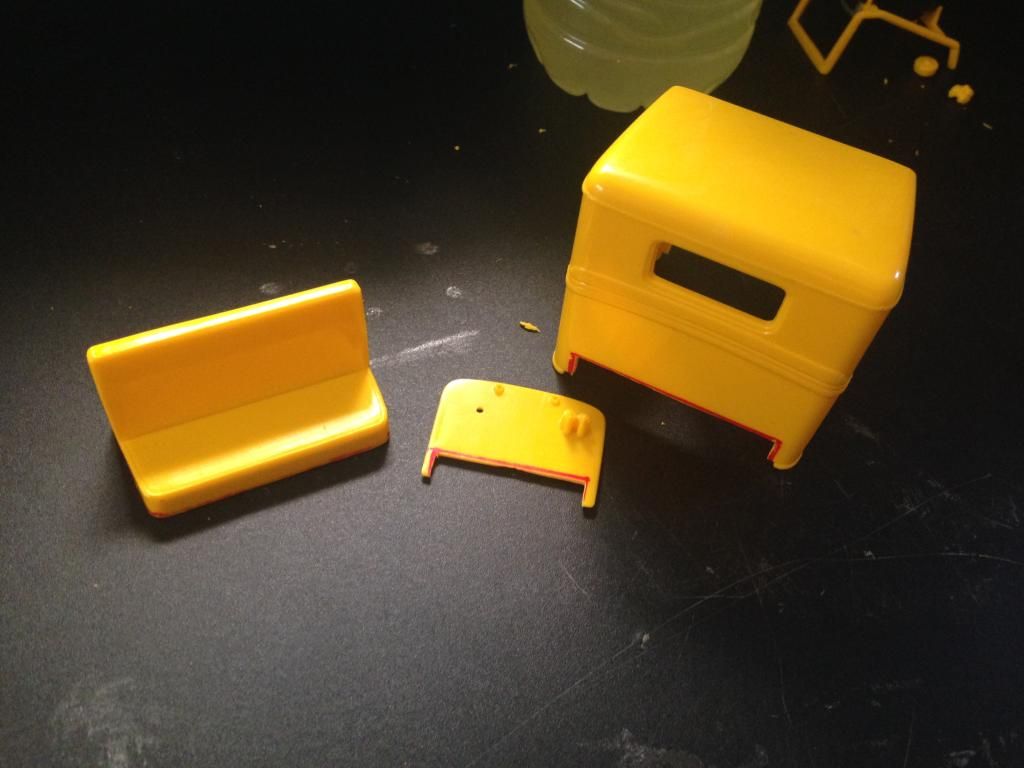 I got the tunnel cut and had to do a little more trimming to the firewall to get everything lined up.  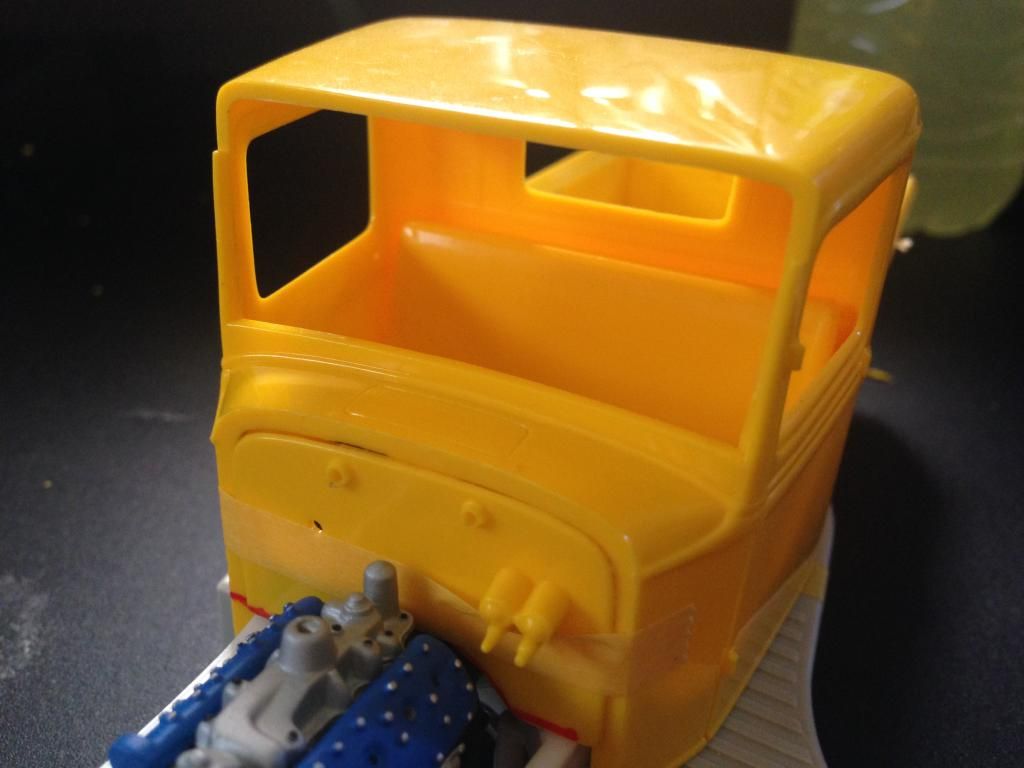 After that I did a sort of "Final Mock Up" before I start fine tuning, sanding and painting everything. 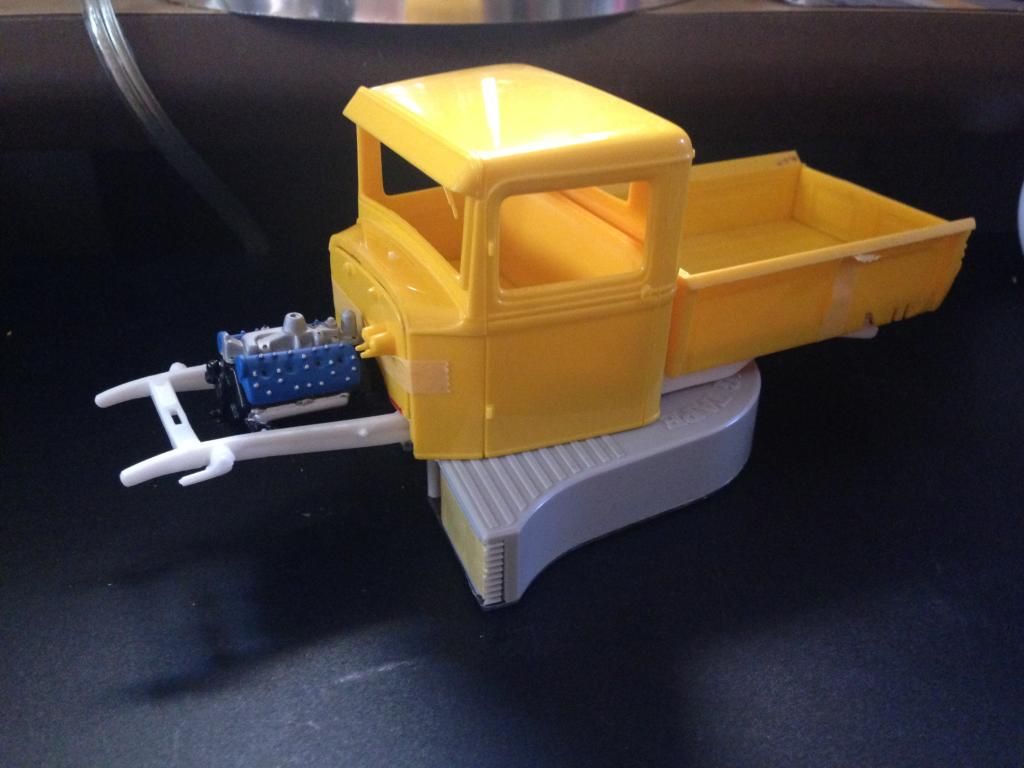 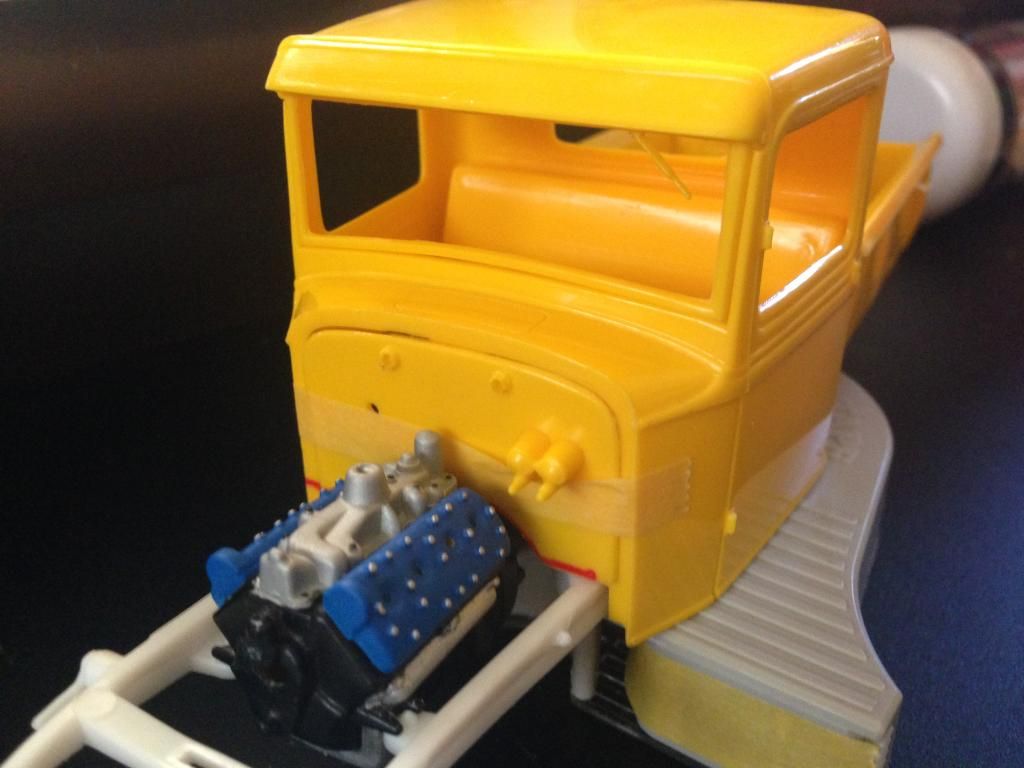 Instead of using the box truck front grill I decided on a resin aftermarket one that has an awesome photoetch insert. Sort of a preview of how it will sit. 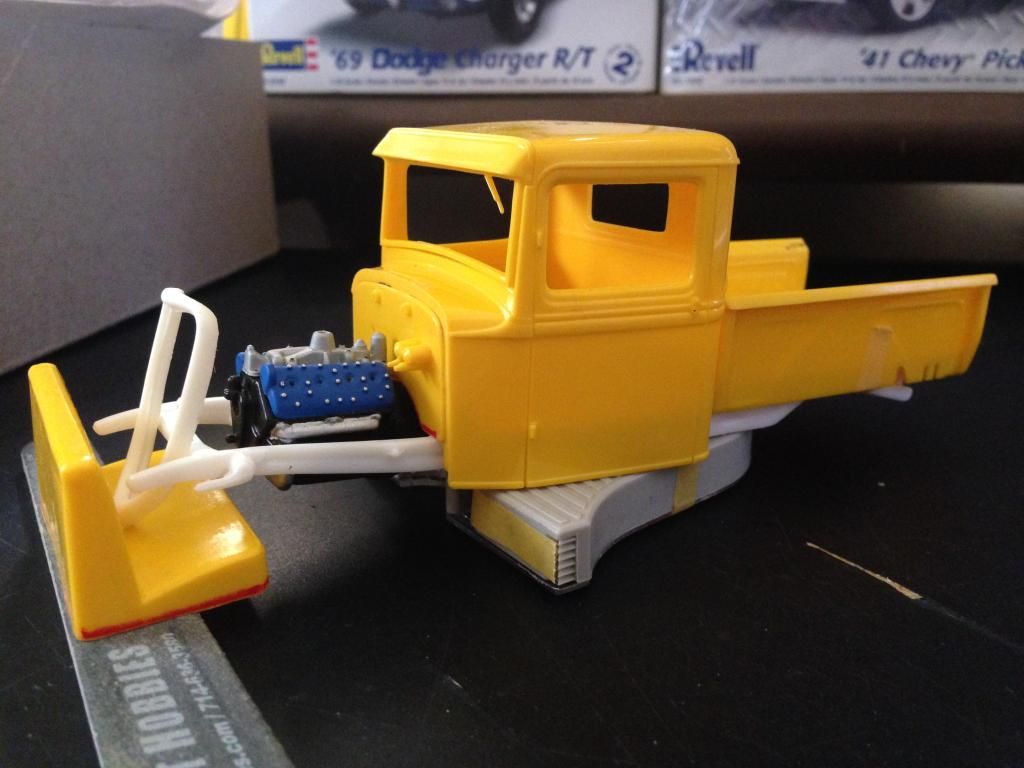 Well, that's all I have for now. Thanks for looking, and hopefully the next update will be paint and final assembly! |
|
|
|
Post by FullTimeHobbiest on Jul 31, 2014 3:31:07 GMT -8
I've lost count of the actual number I've sold. I'd guess maybe 110-120 all told. I still get orders for them and I've got a small stock of them on hand. I'm working on a stock body Futura sport coupe. When finished, it will use the new Revell 90 Mustang LX as the donor. It will have a lengthened floor pan to match the longer Fairmont wheelbase, custom side panels for the interior, and probably an older style dash from the AMT/Ertl Mustang. I will definitely want one of those when you are finished! |
|
|
|
Post by FullTimeHobbiest on Jul 9, 2014 0:46:56 GMT -8
Hello everyone! With my mom heading out of town early, and my deadline being relaxed on the Corvette build, I had to work on something else to get the juices flowing. This kit was won in a bulk auction for cheap and is MOSTLY complete. The literal frame was missing and that was it. A couple things had been painted, nothing glued and very few things clipped from their trees. I found a frame to a AMT(I believe) '34 Ford Coupe kit. It happens to be almost IDENTICAL to the missing one. I also got a bunch of aftermarket goodies in-store for this build. Well, without yapping your ear off too much, here are some pictures! This kit came with LOADS of extra stuff, here is a neat little engine stand that is included. 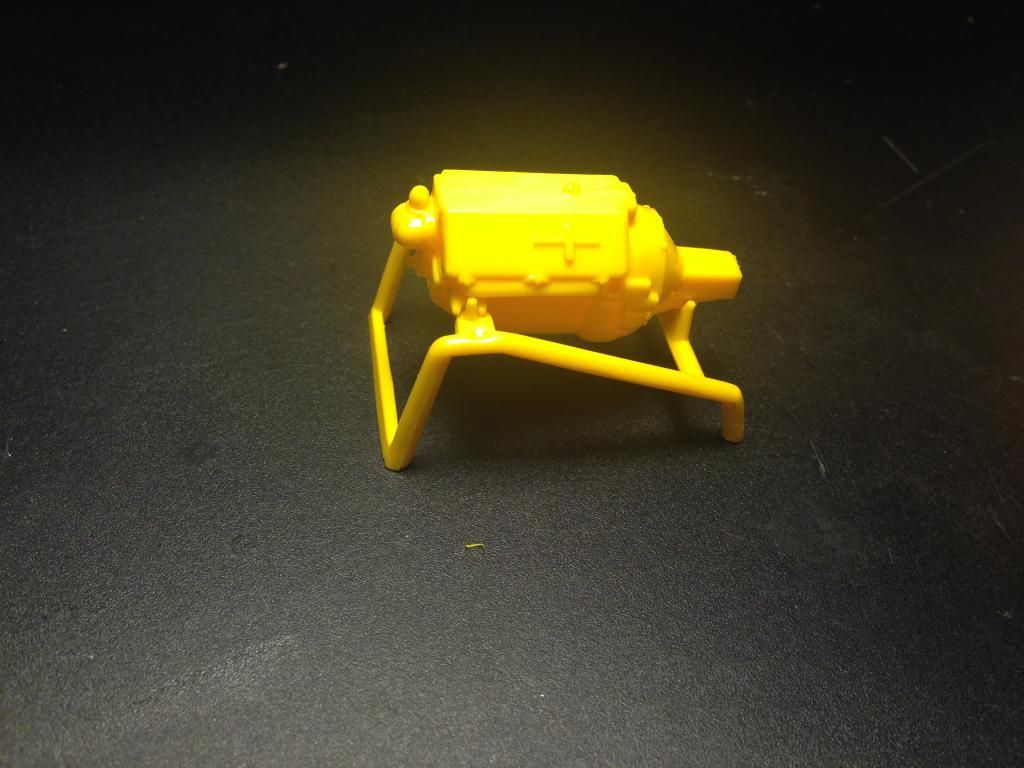 Engine and bed on newly acquired frame. 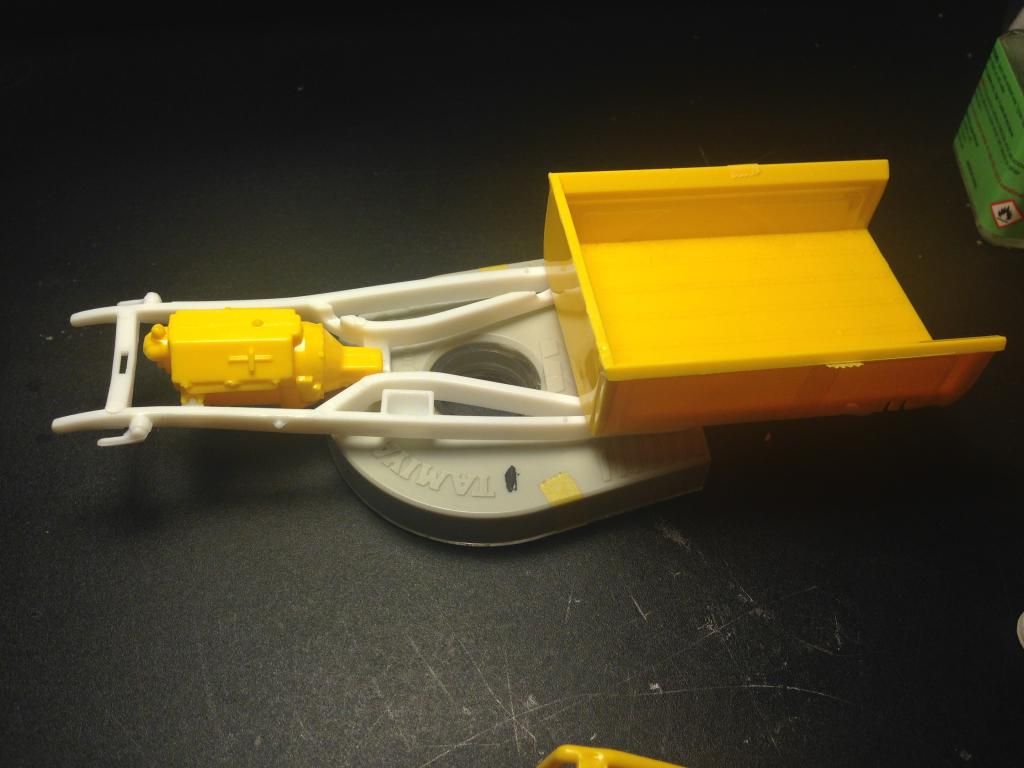 I decided for a more hot rod look I could channel the body down over the frame rails. I just sort of eyeballed it and added some 6mm Tamiya masking tape as a guide line. 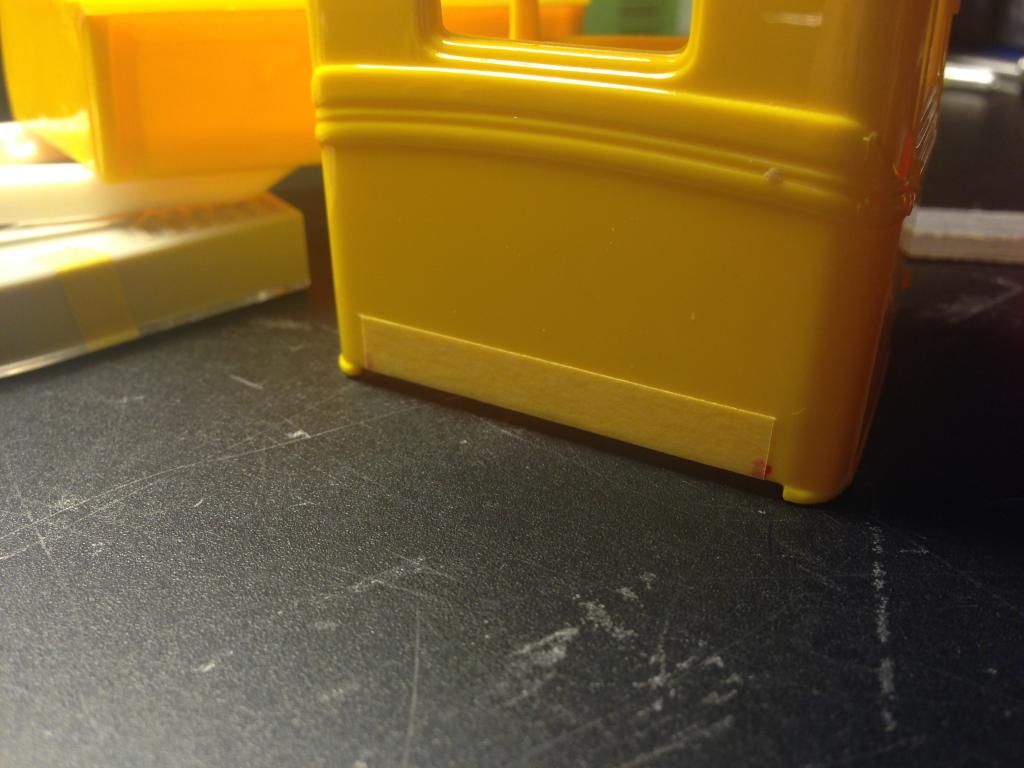 Have to trim the seat about the same amount since this process will be raising the floor inside the cab. 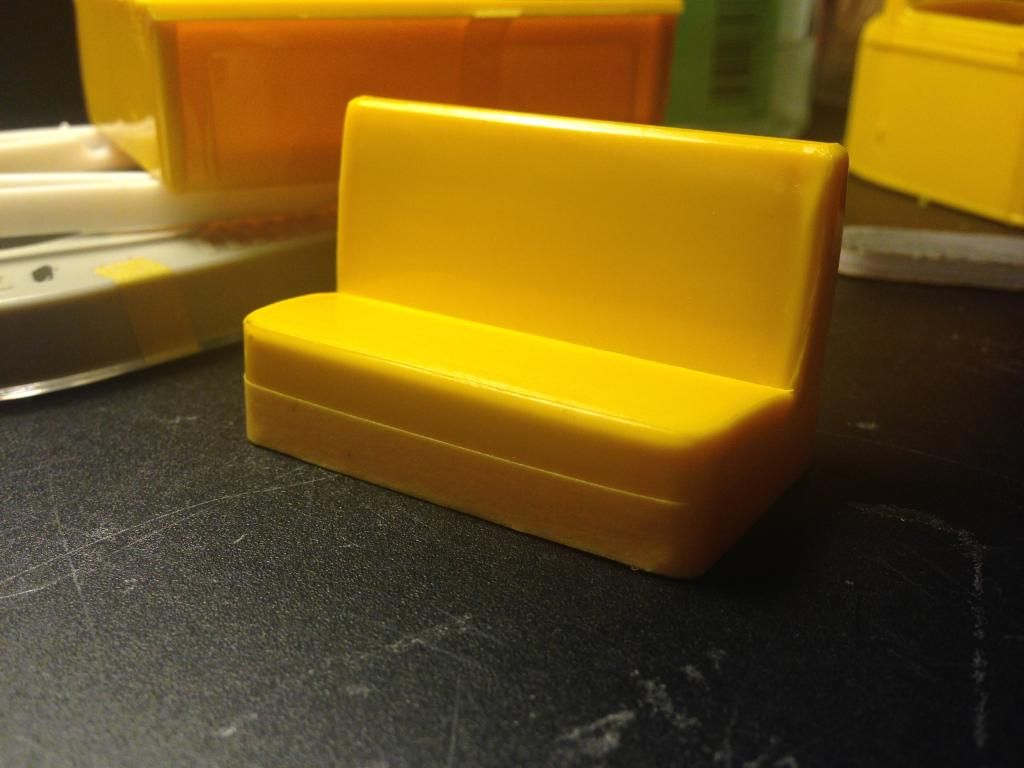 Tape replaced with a marker line. 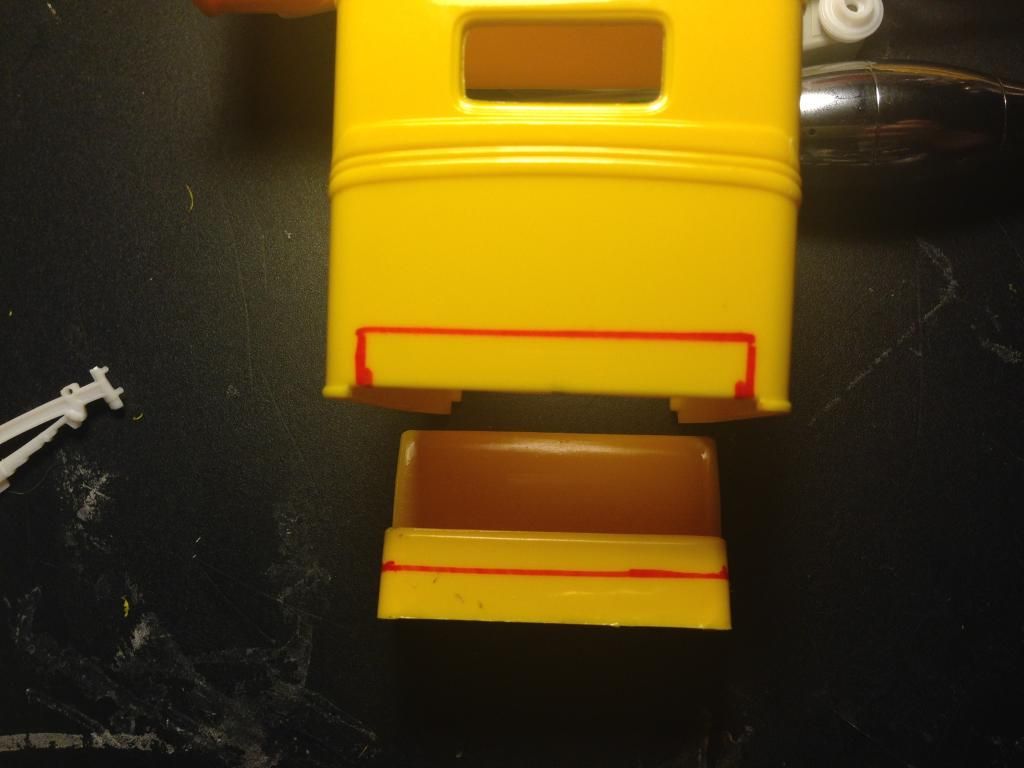 Got the channel cut and the body test fitted over the frame. Perfect 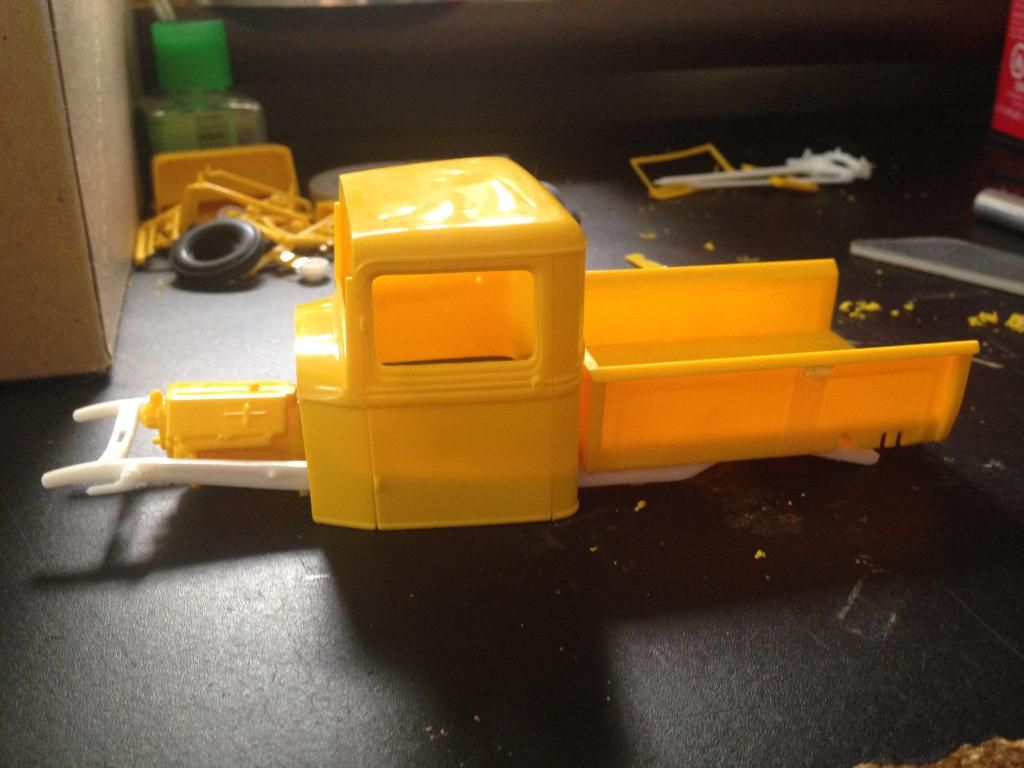 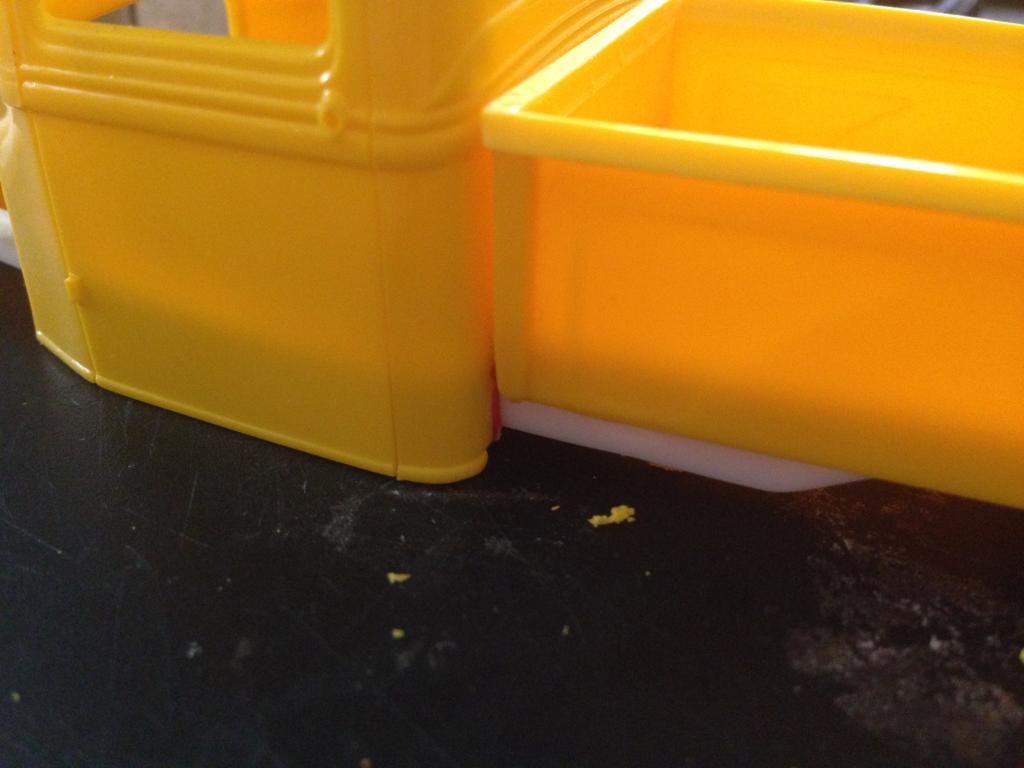 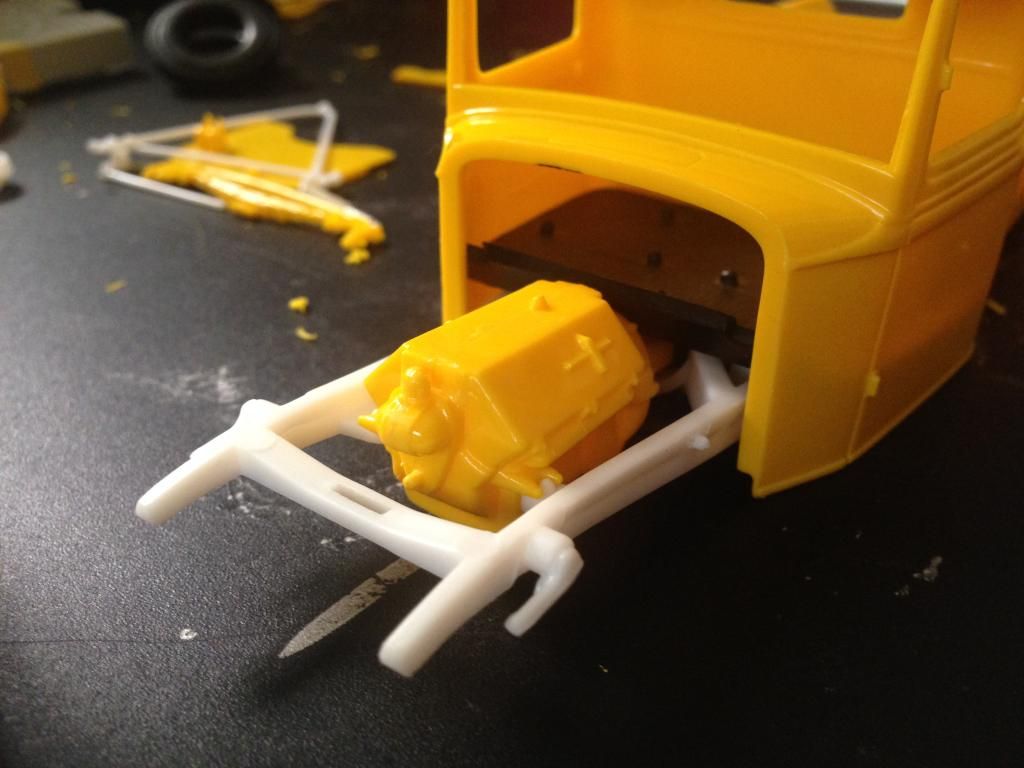 I decided to use the original flathead and add some flare instead of using the Thunderbird 390 that came as an option in this kit. One of the things i needed to do was remove the molded on "plug boots" and drill holes for plug wires to be glued. 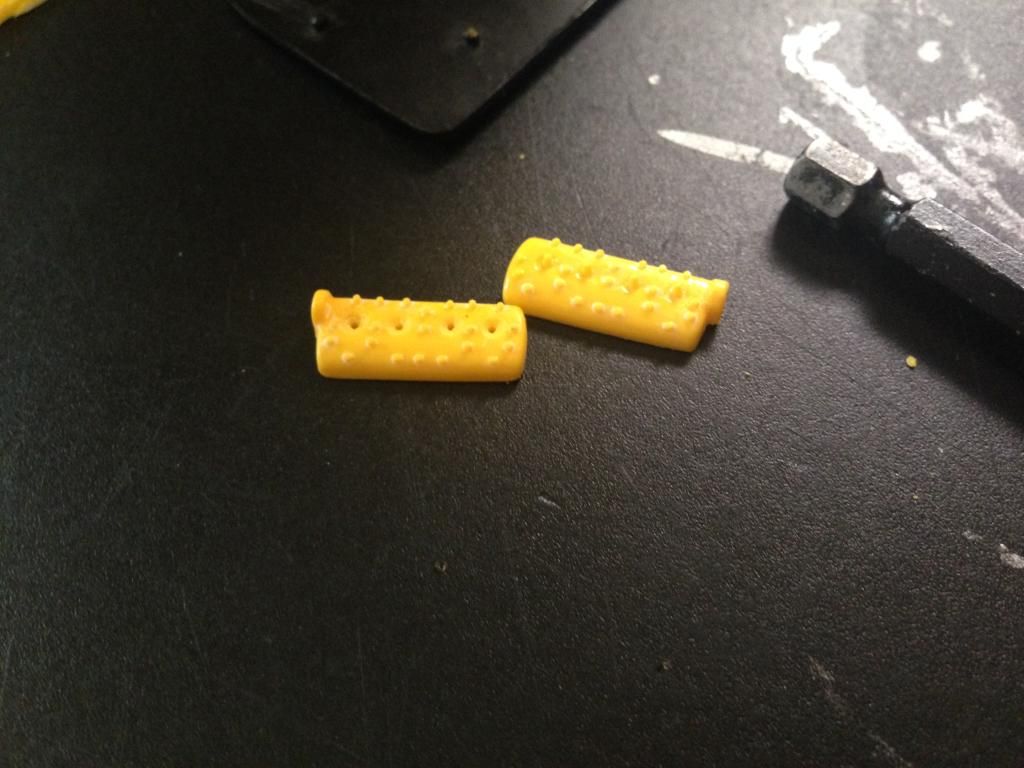 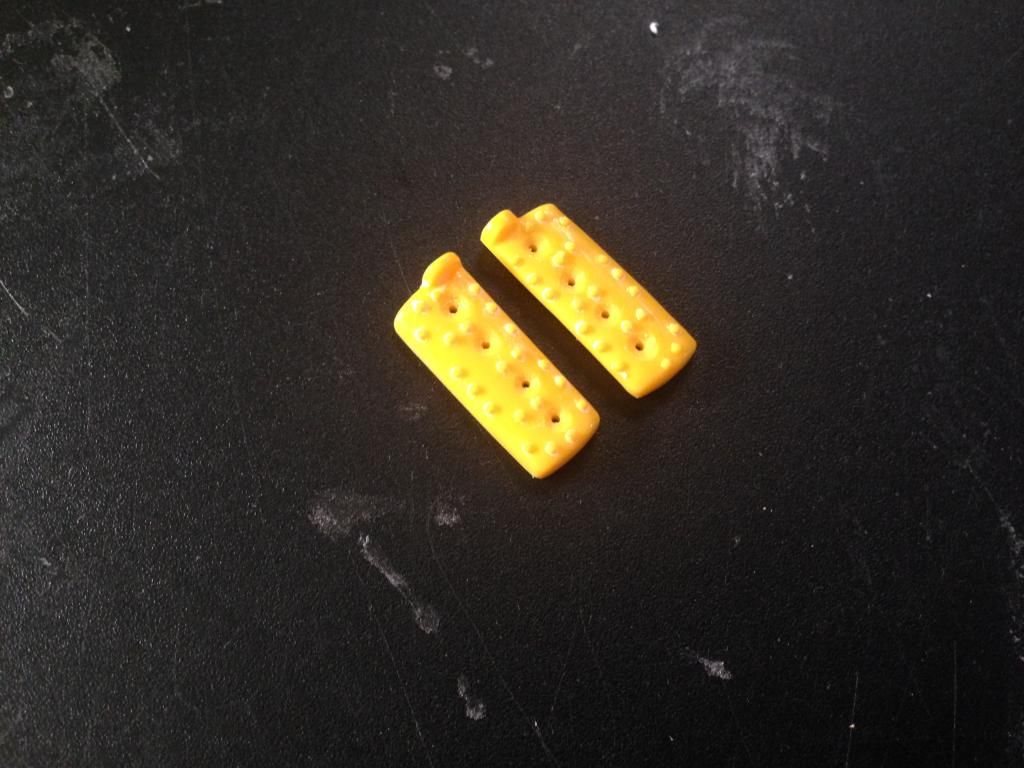 I decided since it was more of a custom than a restoration, I would stray away from a factory paint scheme on the engine and its components. This is was I came up with. I started with Tamiya white primer, then laid Tamiya Brilliant Blue on the heads, and Tamiya Aluminum on the intake manifold then shot both with Mr.Hobby Matte Clear. I like the finish I achieved. 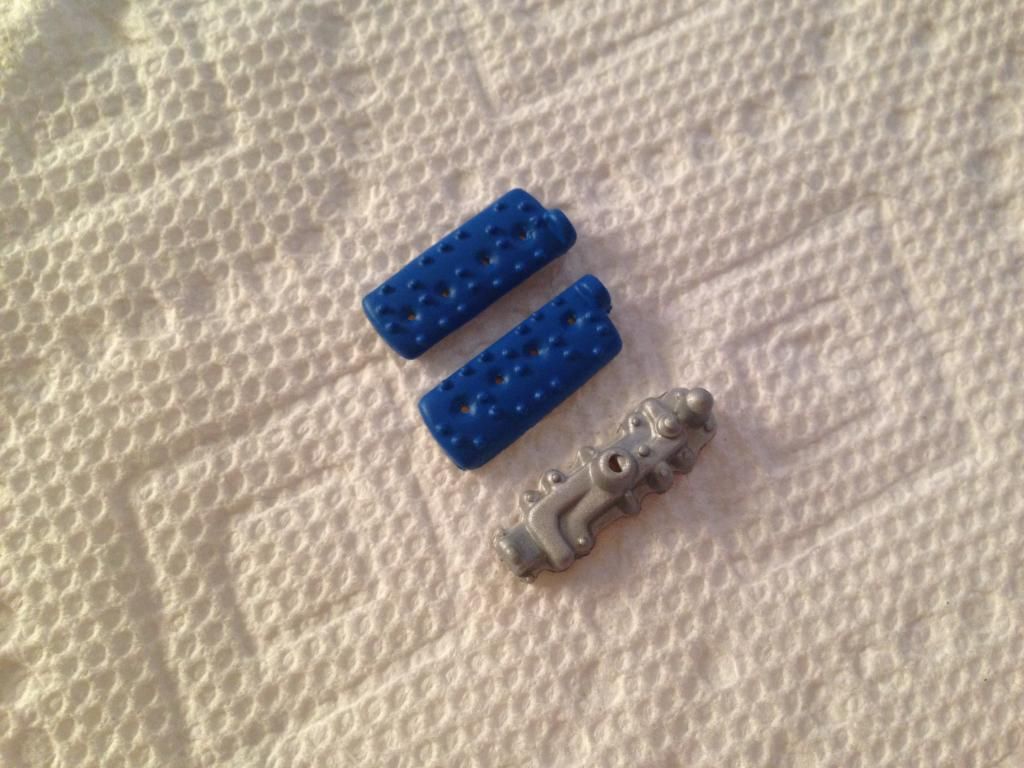 Detailed 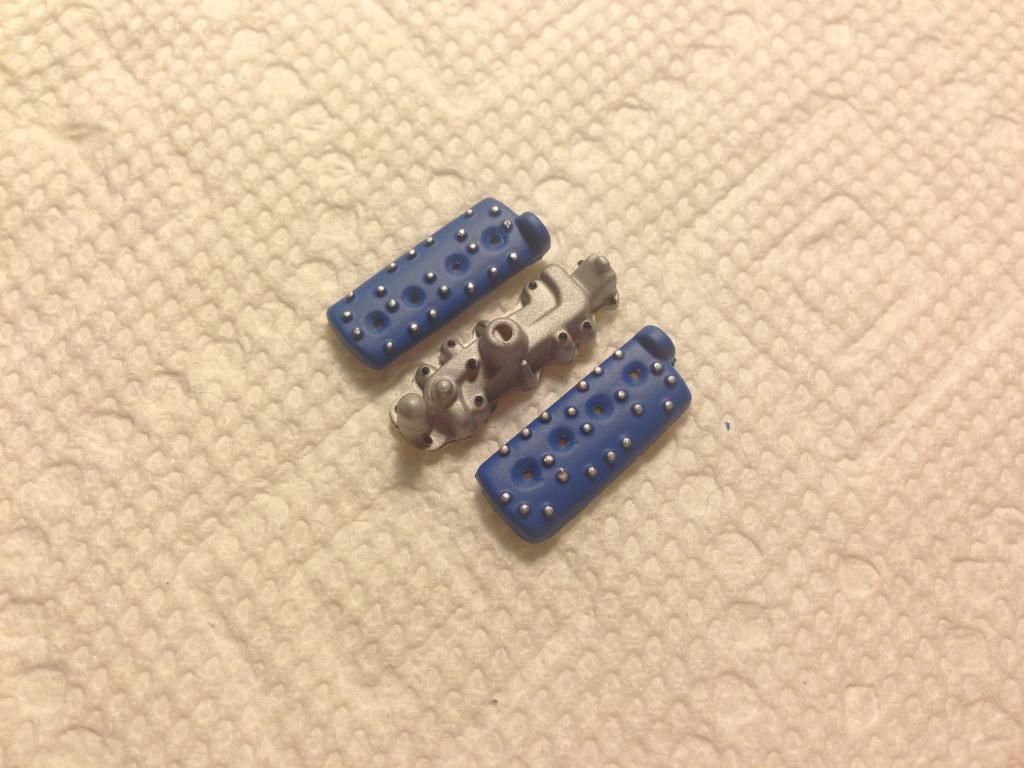 I painted the block Tamiya semi-gloss black. Unfortunately this engine has modeled on exhaust manifolds, so I just painted them and called it a day. I removed the crap distributor cover so I can fab and wire one myself for it, and I have plans to mask and paint the gearbox silver with matte clear like the intake manifold. Here is a little progress on that. 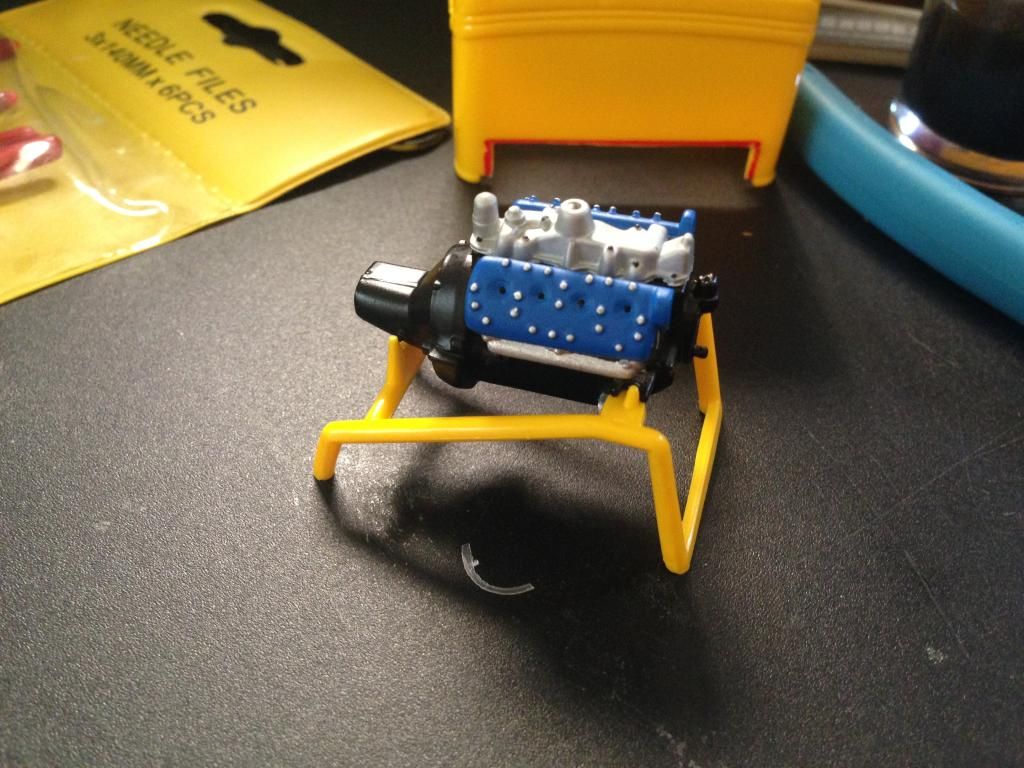 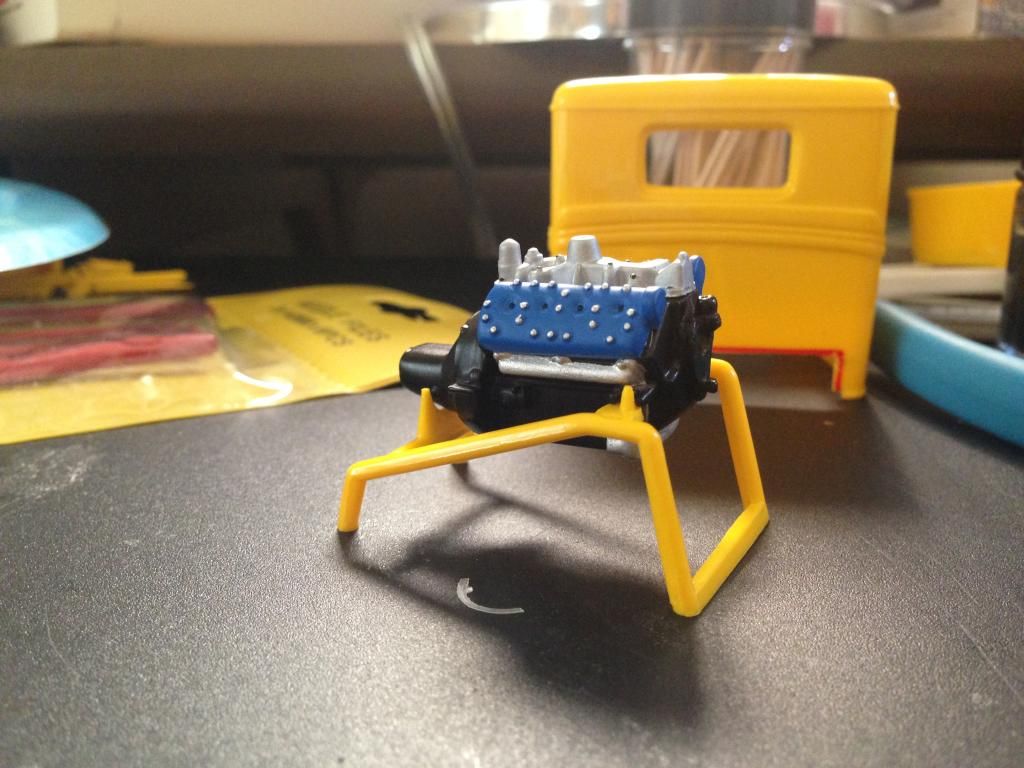 And finally, just a little teaser. 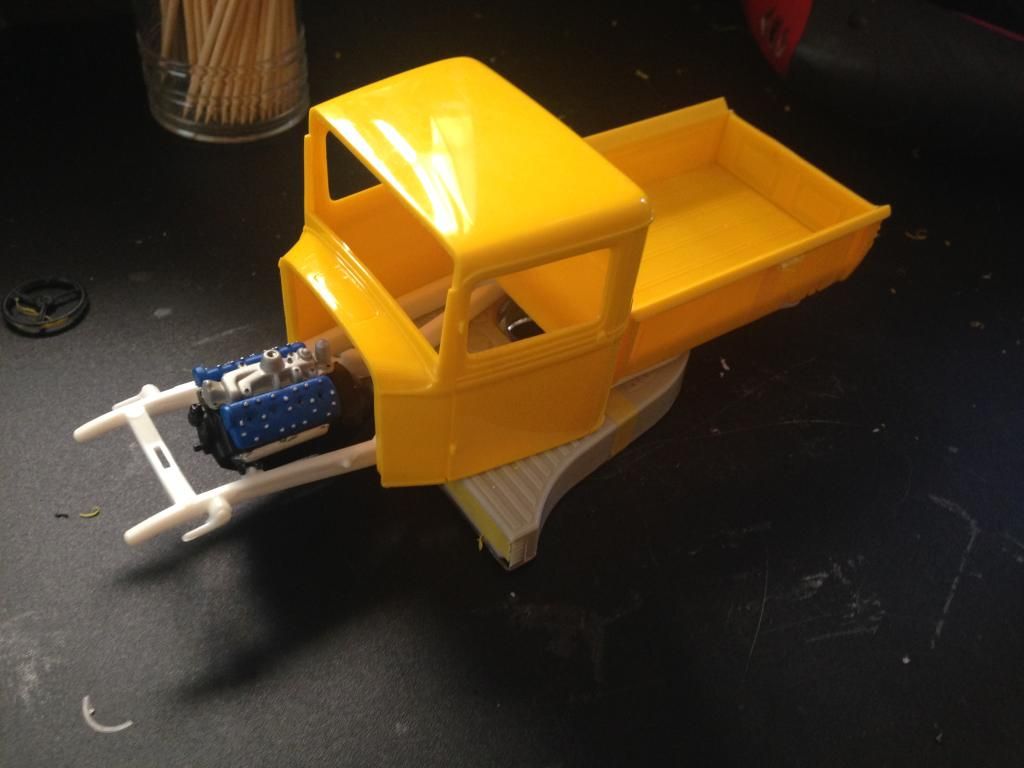 Hope you enjoy! Updates should come quite fast for this project, so stay tuned! |
|
|
|
Post by FullTimeHobbiest on Jul 5, 2014 13:46:16 GMT -8
Awesome build! Thanks for sharing.
|
|
|
|
Post by FullTimeHobbiest on Jul 4, 2014 12:09:05 GMT -8
Awesome build!
|
|
|
|
Post by FullTimeHobbiest on Jul 4, 2014 12:07:57 GMT -8
Love where this project is going!
|
|
|
|
Post by FullTimeHobbiest on Jul 4, 2014 8:45:20 GMT -8
Welcome to the community Ron!
|
|
|
|
Post by FullTimeHobbiest on Jul 1, 2014 18:15:28 GMT -8
Sweet! I'll be keeping an eye on this one.
|
|


